A 5 reels fast lego braiding machine, with pro-building instructions and whole package parts + instructions for sale.

Direct purchase of the instructions
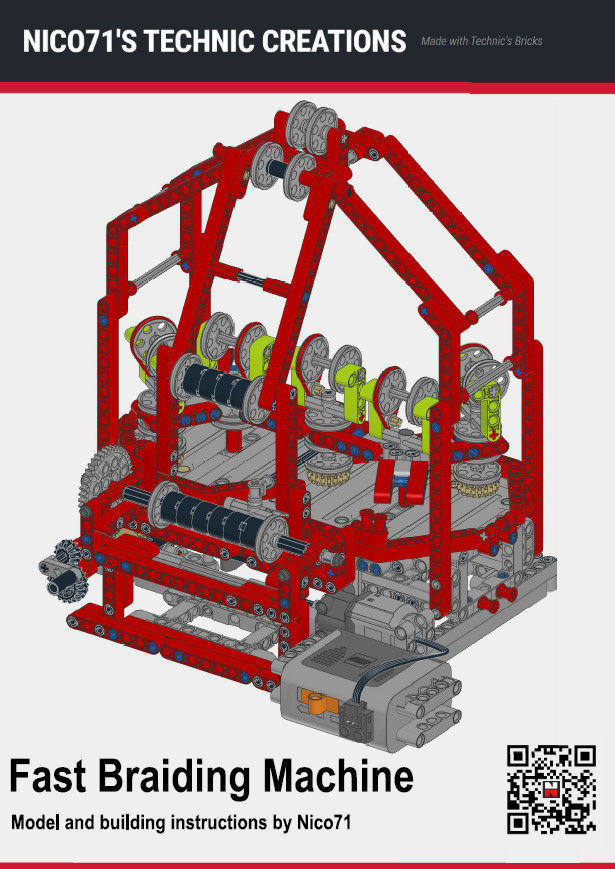
5-Reel Braiding Machine
If you have already the parts : you can purchase the PDF instructions only on the shop and build it with your LEGO parts. The instruction contains the partlist at the end, and you can check individually in the instructions previews below.
If you do not have the parts, you can purchase the complete kit from two different retailers :
- Using Genuine LEGO Parts : This model is available on Buildamoc in a complete package (enhanced edition) including genuine LEGO parts plus the PDF instructions.
- Using non-Genuine LEGO Parts : This model is available on LesDiy Store in a complete package (enhance edition), including the parts (alternative bricks from China) and the PDF Instructions.
Context
Before make my first braiding machine (which was in fact plus a twisting machine), I have worked a lot of this type of architecture of machine. I have tried to make a double pallets with 3 reel, 4 pallets with 12 reel, of a giant version with 6 pallets and 16 reels. But I was always confronted to the fact that the reel didn’t pass well on the each pallet and causes many blocking. After a year of work, concentrated on a simple horizontal braiding machine, I manage to make this work with in addition a very fast motion !
Functioning
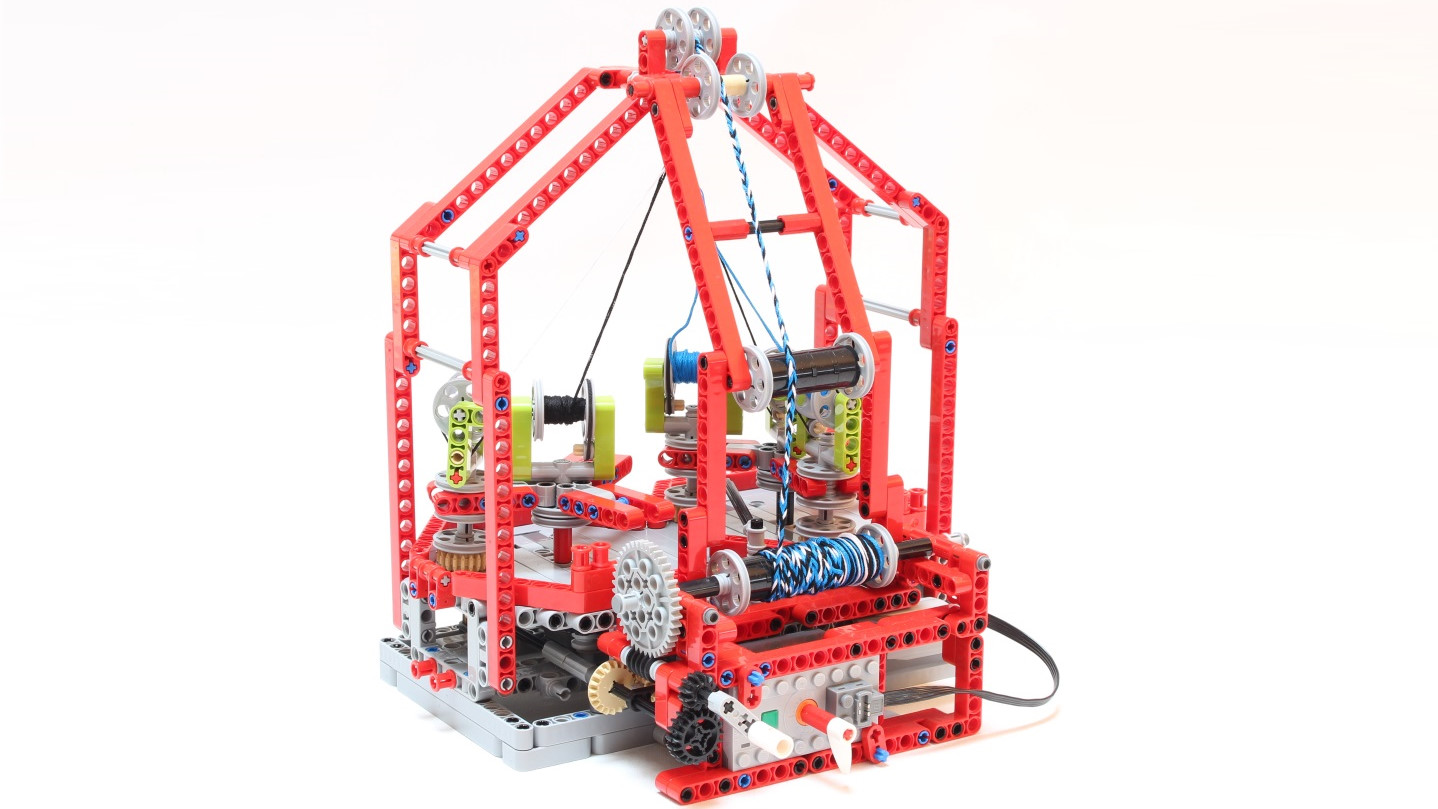
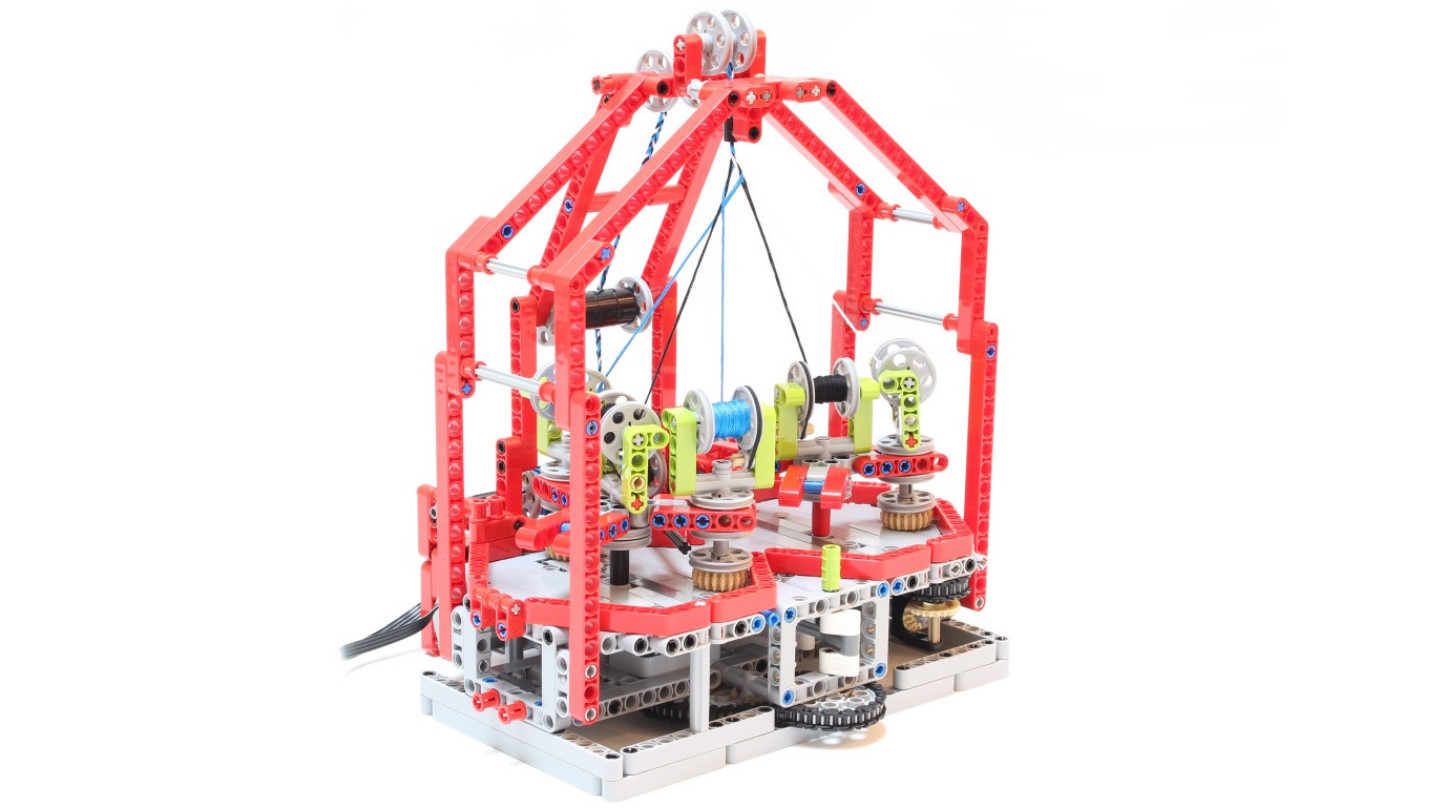
The basic functioning is very simple. There are 2 rotating main pallets which has in fact 3 pallets on each. This pallet can handle 3 reels at the same time plus one fixed on the center. By rotating the pallet in different way (clockwise and counterclockwise), there is a moment where a reel on the pallet on left is face of the right pallet, then it has to be moved to this pallet. For that, It uses a moving axle lever connected to the rotation of the main pallet using cam and connecting rod which pushes the reel on every face to face on the two pallets.
There are 2 fixed reels on the center of pallet which make the base of the braiding string. The braiding principle is made by passing alternatively each reel on left or right in order to braid together.
Tips
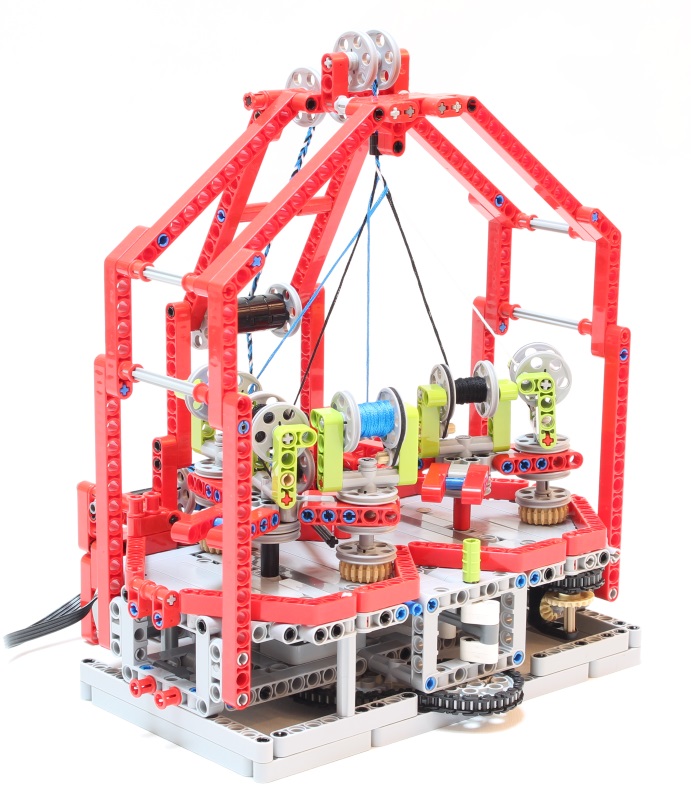
It is the most interesting parts, the tips I used to make my braiding machine works, and works fast ! The first important thing is to synchronized the two main pallets in order that they meet face to face exactly. Of course I can not use gear or bevel gear because of delay between tooth and gap in the transmission. That is why I used a chain with a particular path in order to stretch correctly the pallet to be face to face each 1/3 of rotation.
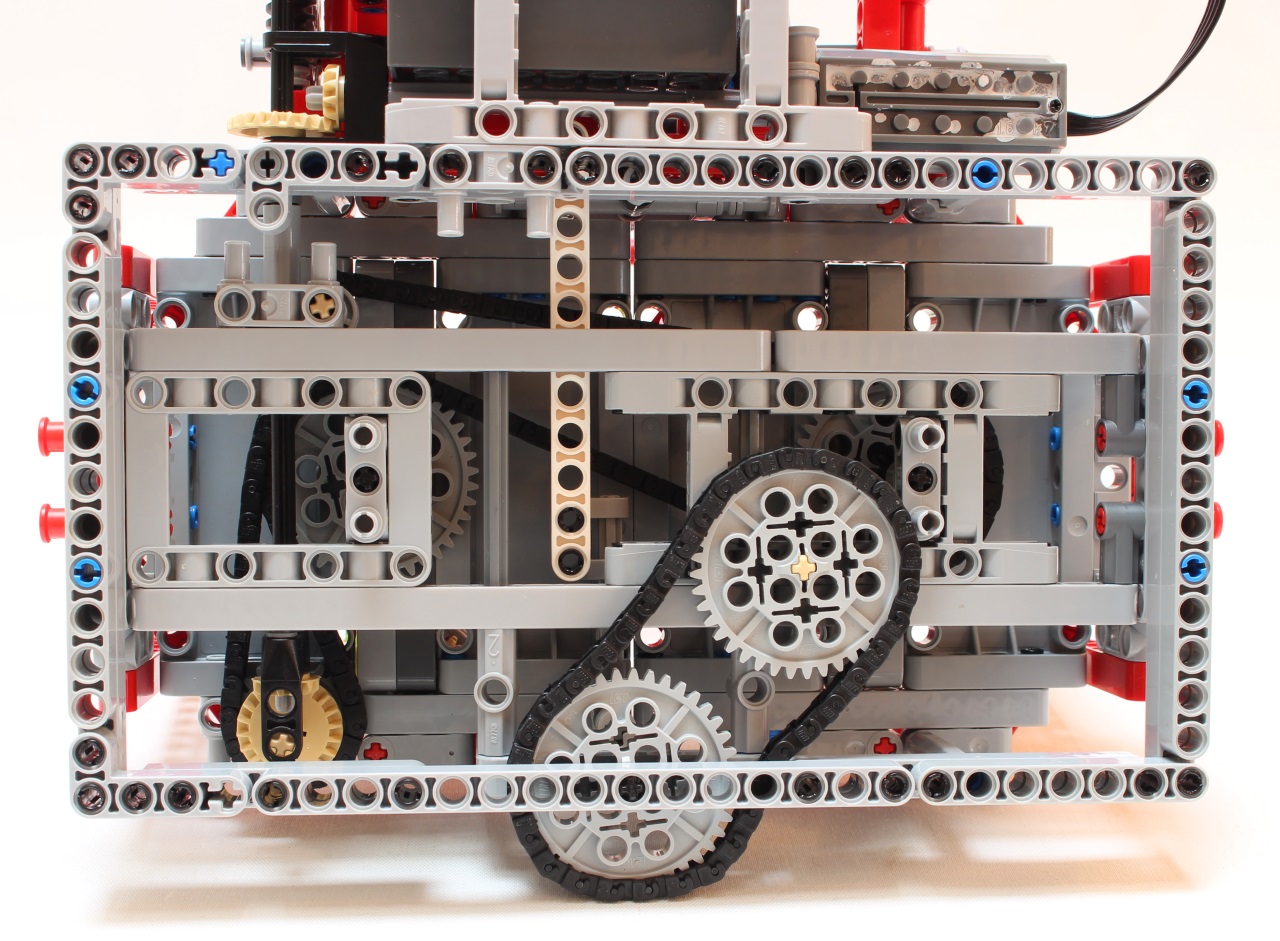
The second tips using a chain is for the drive-train between the main pallet and the oscillating pass-rod lever. I used a chain first for building convenience, but also for set up finely the rotation gap between the pallet and oscillator. With a 40-tooth, I can set up finely each 1/40 of rotation.
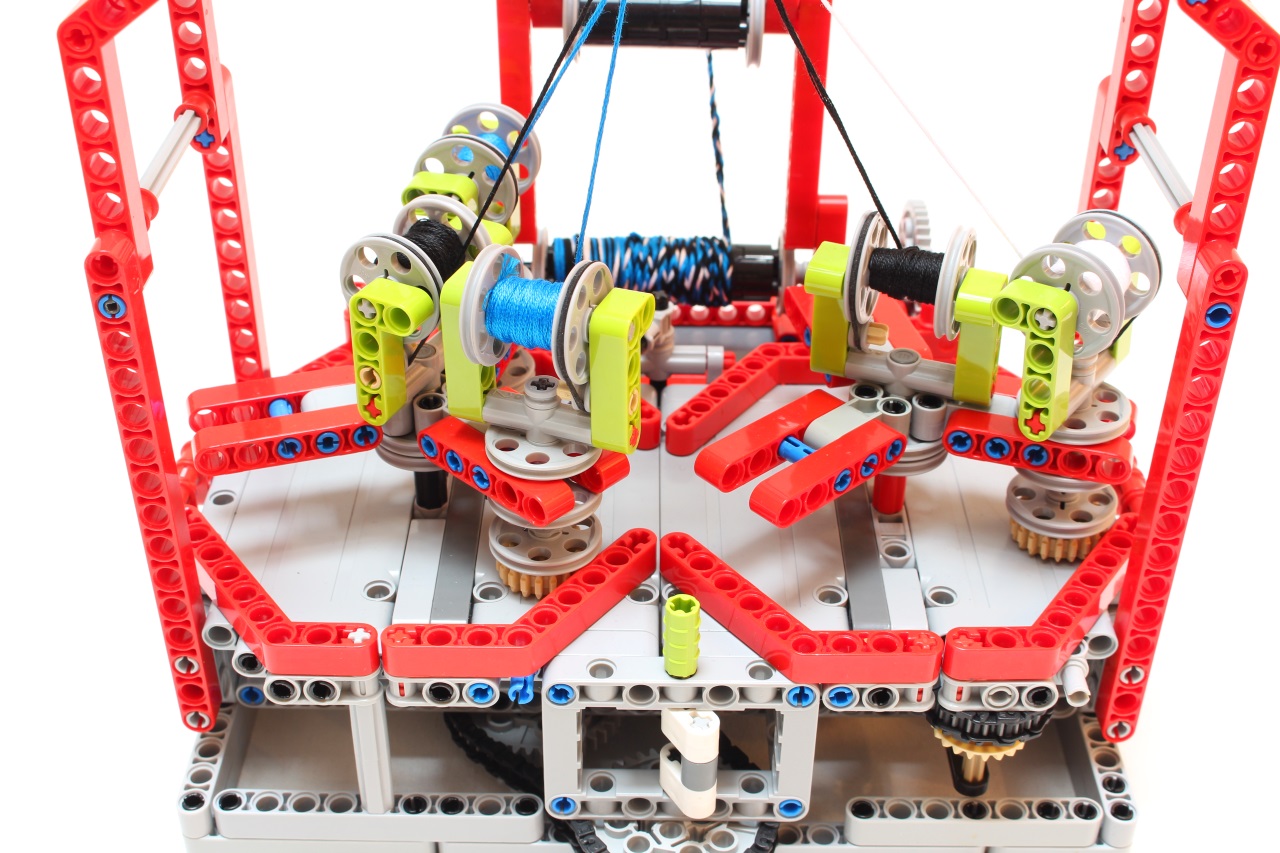
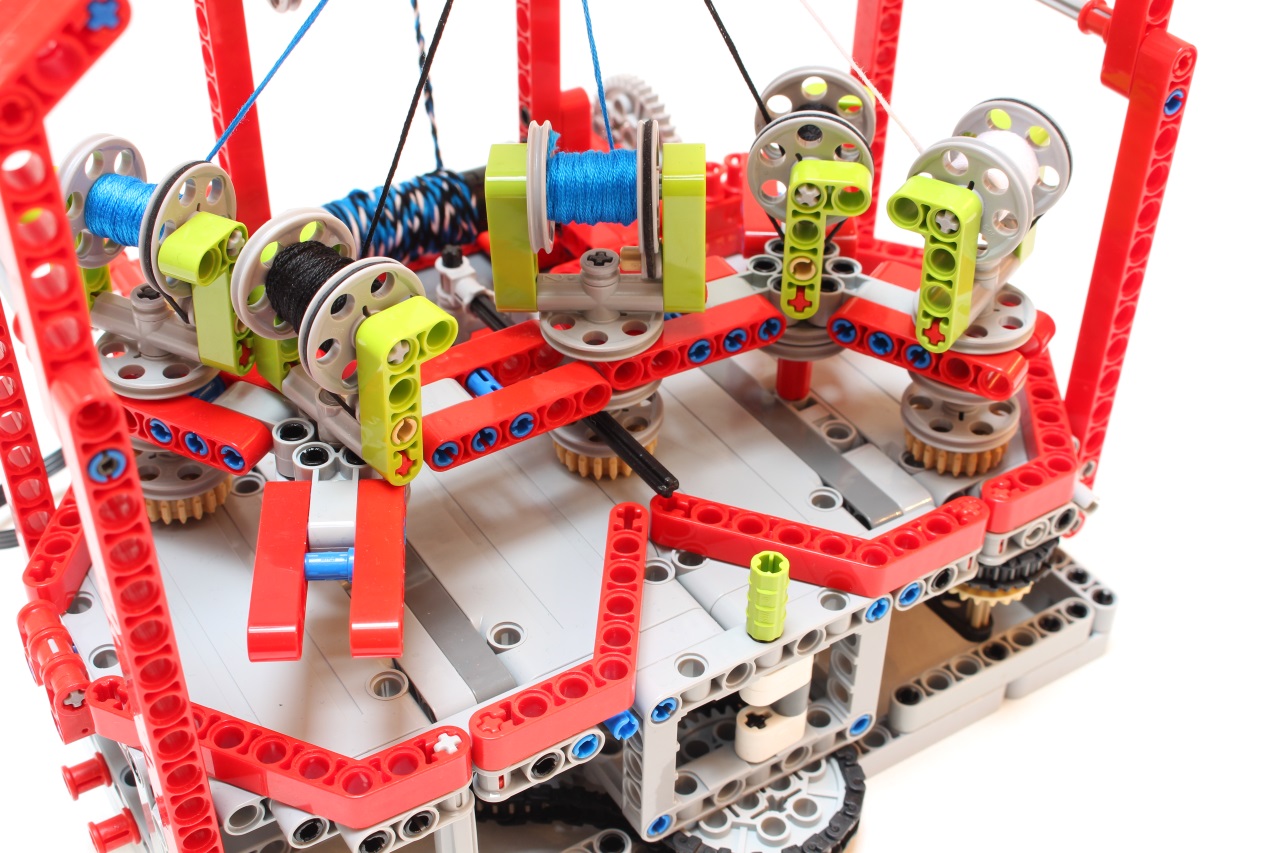
To control the tension of each string on reel, I use rubber band connected the the pulley of each reel in order to a little tension to always have the string tighten which is very important to have correct tight fabric result.
The last tips I used is the most important regarding the working of the machine. It is a simple plan composed of gray panel and beam, which support and lead the reel and the red angular liftarm. This plan and red liftarm are very important because without them, the reel can be blocked during the passing on pallet, and with the speed the other reels are ejected of the machine. I have made many prototypes of braiding machine but never with this plan and border, that is why it could not work. Now it works and thanks to that the moving reels are not blocked and the machine can go very fast.
The Result
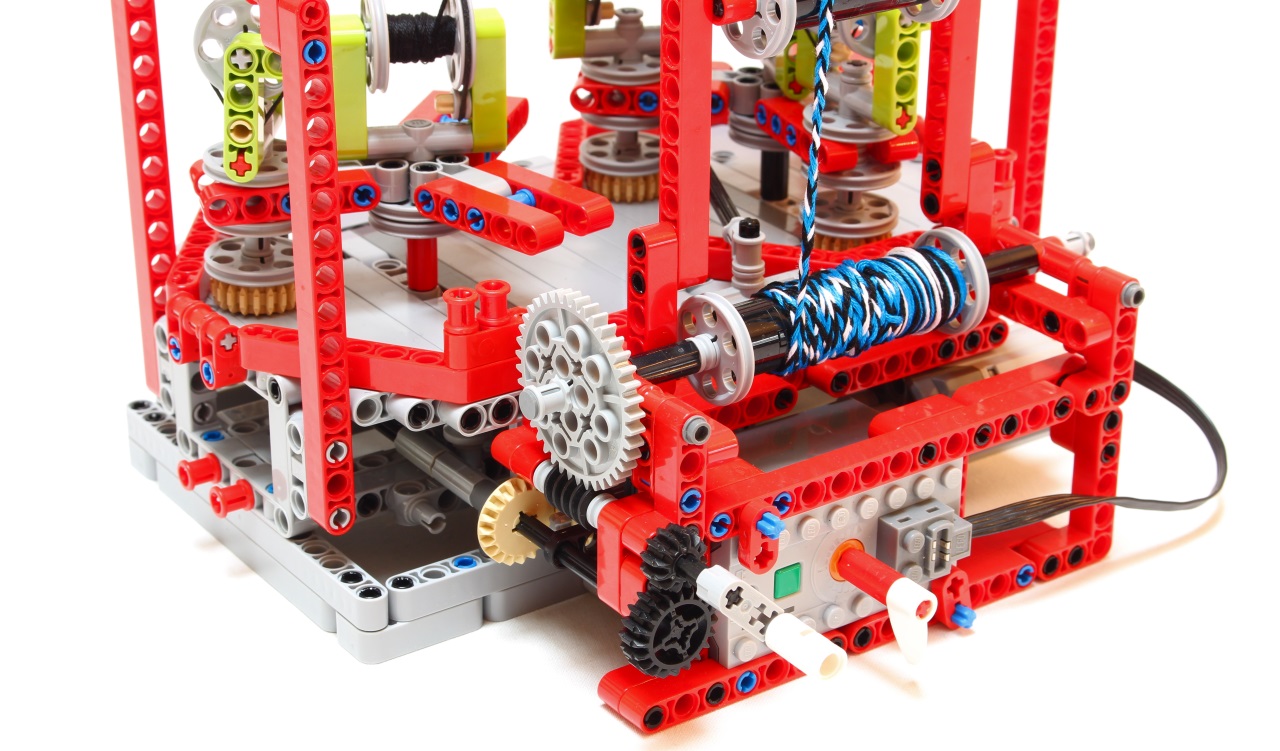
The 5 reels, are braided together and meet the output hole on the machine, then roll on some rollers and be wound of the drum. This drum is connected to the machine and it is mounted of removal axle in order to set up and obtain final fabric. Also a 12 tooth bevel gear can be slid to have the drum free and make rotate using the crank to set up the tightness. All the machine is powered by a M-Motor.
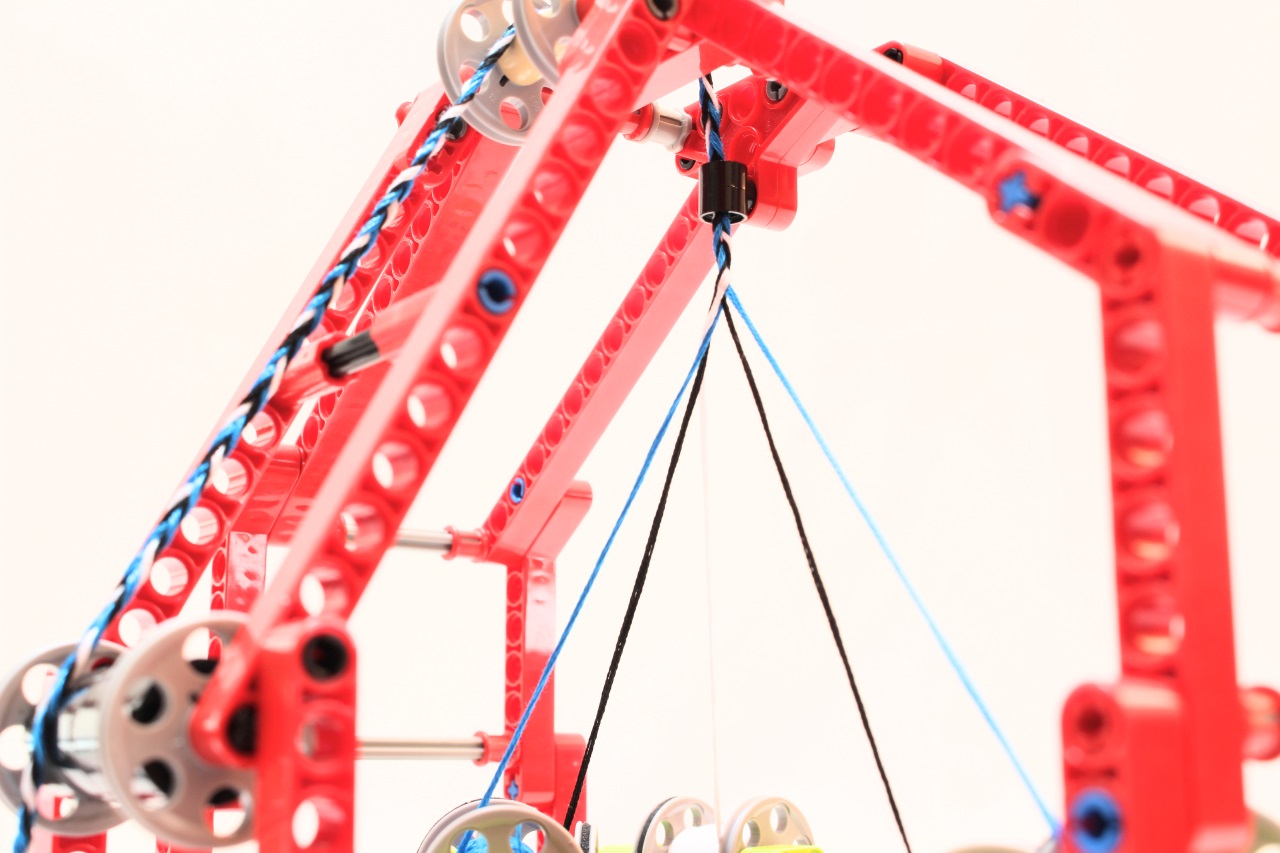
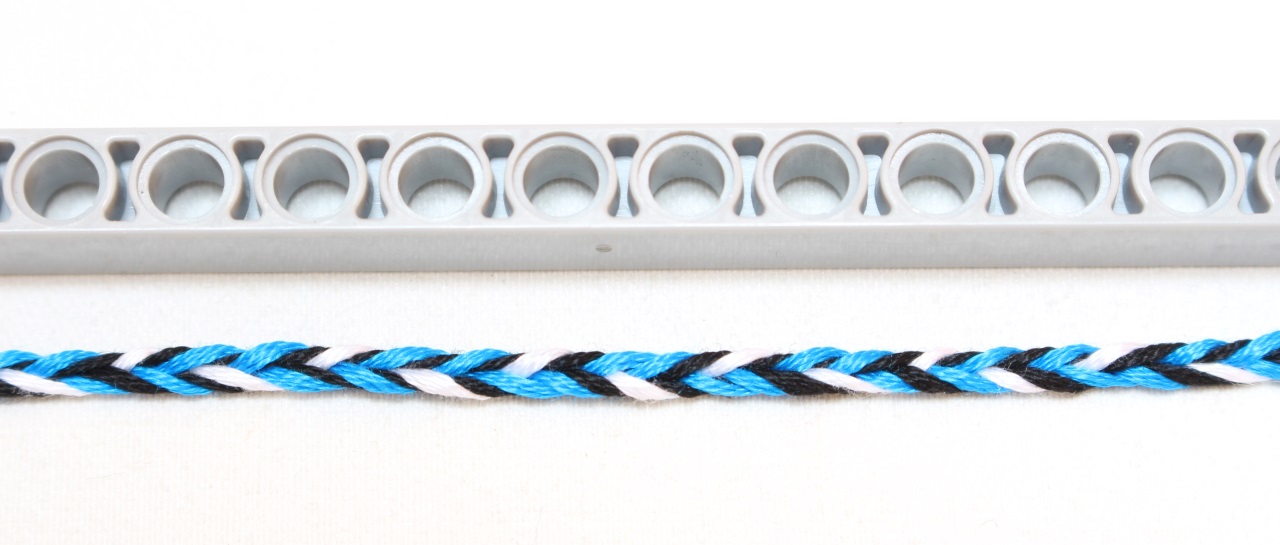
You can see the result here, the black string is fixed and other moving. The result is quite good with good tight fabric result. Maximum Speed of braiding is 0.60cm/s (using the winchtool) or 35cm/min which is very fast.
Photos And Video


Purchasing the creations or the instructions
If you have already the parts : you can purchase the PDF instructions only on the shop and build it with your LEGO parts. The instruction contains the partlist at the end, and you can check individually in the instructions previews below.
If you do not have the parts, you can purchase the complete kit from two different retailers :
- Using Genuine LEGO Parts : This model is available on Buildamoc in a complete package (enhanced edition) including genuine LEGO parts plus the PDF instructions.
- Using non-Genuine LEGO Parts : This model is available on LesDiy Store in a complete package (enhance edition), including the parts (alternative bricks from China) and the PDF Instructions.
In 2022 I reworked the machine and the instructions to propose an updated version, with L motor instead of M and regular battery box, more gearing option and cosmetic change to fit the more common parts. To decide which version you want to purchase, please check the rebrickable inventory according your parts collection :
Both include the bill of material :
Do not mix the chain link ref 3711a and the 14696 (reinforced one). Use preferably the 3711a version but if you use the 14696, do not mix with other chain links.
Pro-Instructions
You can buy the instructions with the following button for 10€. You can also buy other building instructions and get an automated discount. You will get 15% off for 2 PDF, and 20% off for 3 PDF on the total), available for all the instructions for sale on nico71.fr.
See it on the Shop (two versions available) :
5-Reel Braiding Machine
After your payment, you will be redirected to a page for downloading your instructions, and will receive also the link to download by email. Please check the spam box and be patient to receive it. If you have trouble to download your copy of the PDF after payment or open the document, do not make a paypal dispute, please contact me using the contact form. The link to download the instructions expires within 24h. Contact me if you have lost your instructions. Note that you can print it, but not copy or distribute. Thank you for supporting my work 🙂
Initial version :


Updated 2022 version :


Set Up
The set up is not complicated, you have to pay attention to use the lime holder for having the pallet straight and then put the chain (easy) and then remove after this step. Of course the two pallet has to be on the same horizontal value.
And then after building the machine, run it slowly (in correct order as shown in the video) to set up the synchronization between the pallet and moving oscillator. For that, the passing axle must not move before the reel is closed to it and then move to pass the reel on other side. When the pallet is face to face, the moving axle have to pass the reel around 5 or 10mm after the center. For that, run slowly and if :
- the reel is not taken by the axle : move the chain about 1 tooth in one way
- the reel is not pass correctly or block or other pallet : move the chain about 1 tooth in other way
Repeat until it works smooth and the reel do not block (this is not very complicated, just some time needed).
Free Photo Sequence Instructions
The photo sequence have been taken in correct order, don’t forget to check the correct positioning of pallet using the lime holder and set up after the synchronization between the moving oscillator and pallet.
You can also download as ZIP archive of picture :Braiding Machine Free instructions ZIP (6mo)

(5) Comments
[…] We love a good LEGO build as much as anyone, but Technics takes it to the next level in terms of creating working mechanisms. And nobody takes Technics as far as [Nico71], as evidenced by his super-fast Technics rope braiding machine. […]
[…] don’t realize it’s actually a complex weave of smaller strands. But thanks to Lego master Nico71, if you’ve ever thought about making your own, you can build this intricately choreographed Lego […]
Bonjour,
Il me semble qu’il manque les 5 élastiques dans la liste de pièces publiée sur Rebrickable 🙂
Merci pour ce magnifique . “Tricotin ?” 😉
Every thread is ok I assume, Of course, the 5 thread has to be pass smoothly in the output hole on the top. I have build previously a lego rally car 🙂
Hello Nicolas I like this braiding machine and I am planning to build it. Only can you advise me what type of thread should I use. Also when will you be building some vehicles? ☺
Comments are closed.