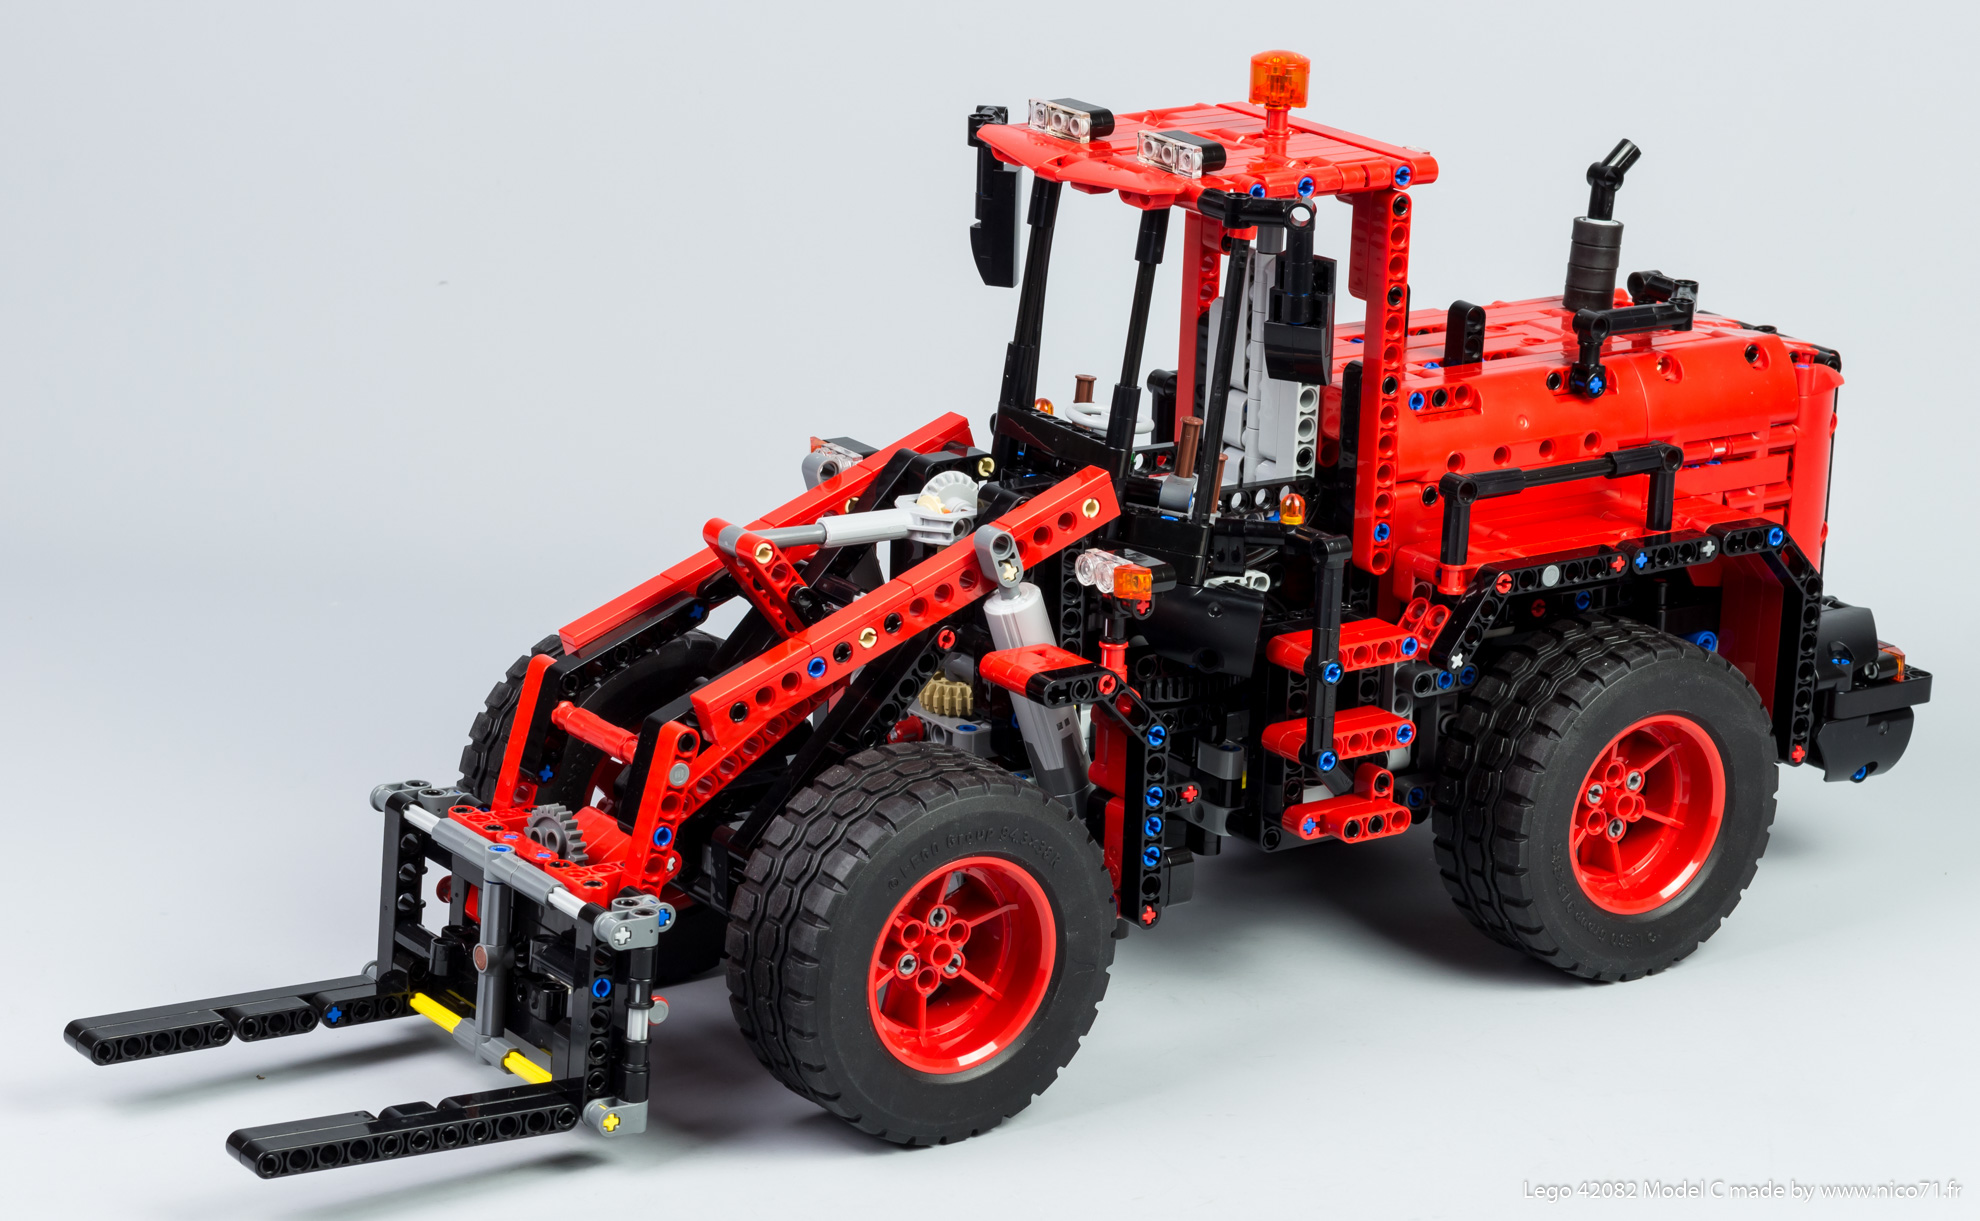
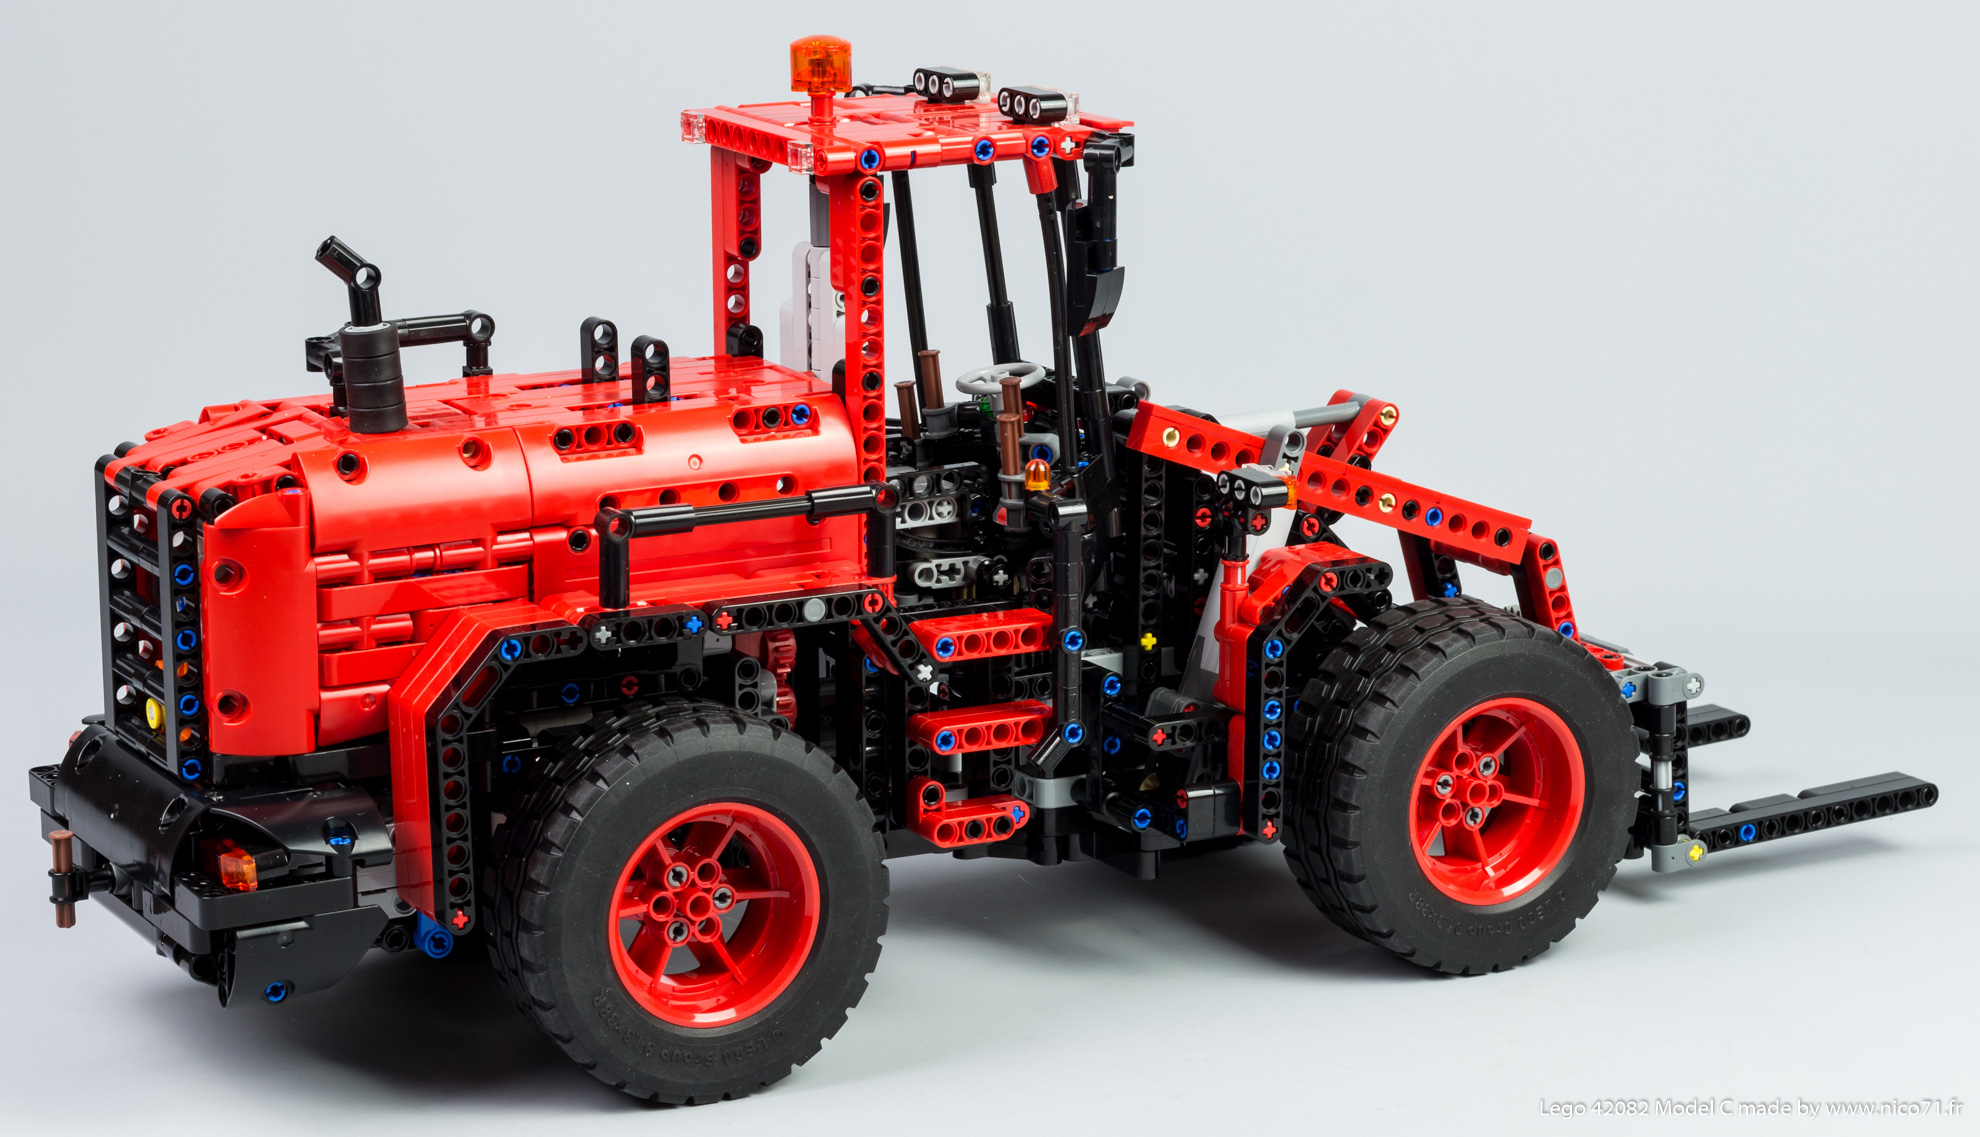
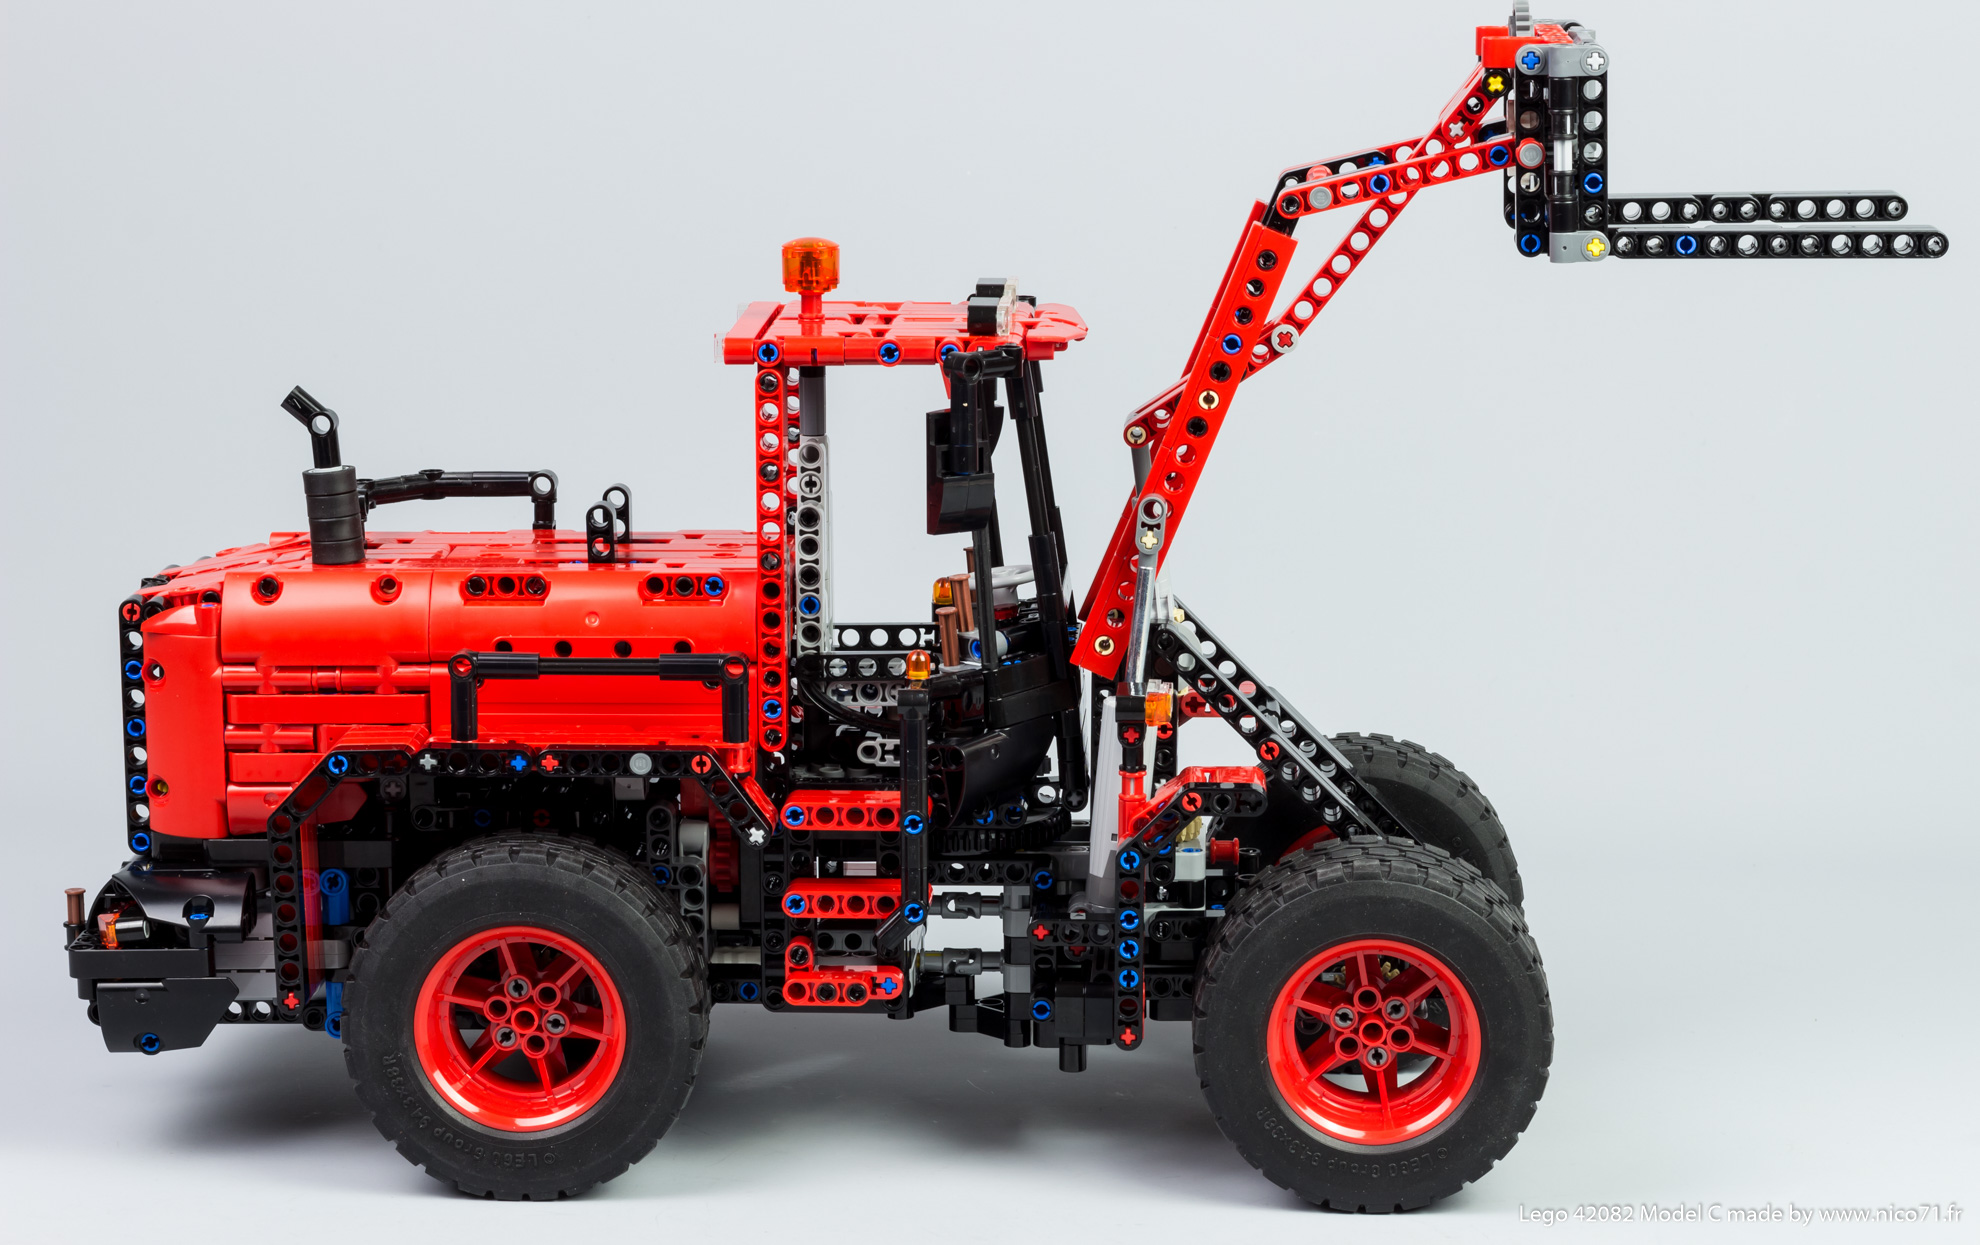
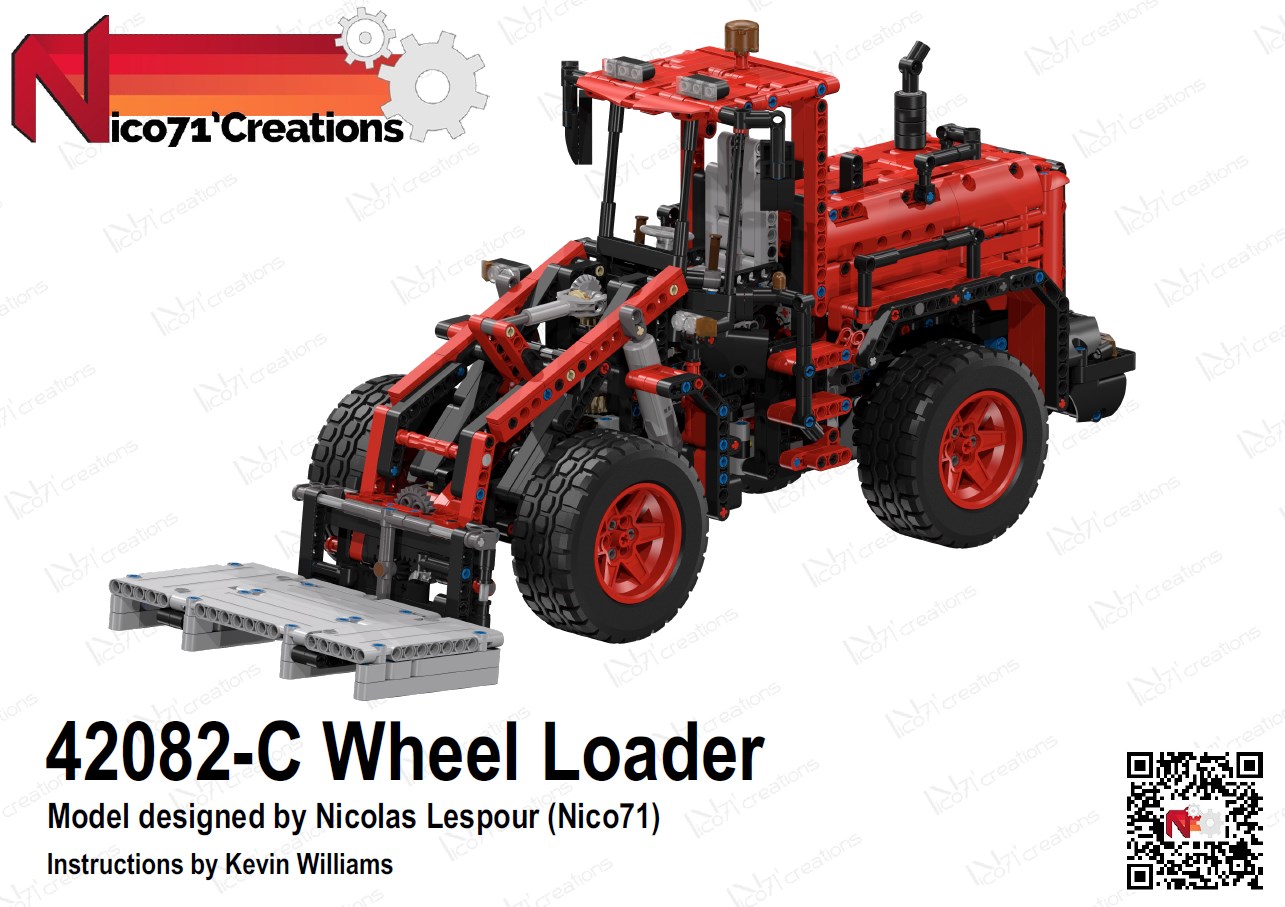
A alternate model of the Lego #42082, features central articulation with steering wheel, 4×4 drivetrain with fake engine, rear pendular suspension, motorized raising and tilting fork, adjustable fork width and many opening elements.
How to build ?
Using Genuine LEGO Parts : If you own the 42082 Lego Technic Set – Rough Terrain Crane, you can build this creation without any additional parts. You only need to purchase the instructions on this page. You can check the exact bill of material on rebrickable or in the instructions previews below.
Using non-Genuine LEGO Parts : This model is available on LesDiy Store in a complete package, including the parts (alternative bricks from China) and PDF Instructions (the same as on this page).
Direct purchase of the instructions (All alternate model I have created with the 42082 LEGO Set)
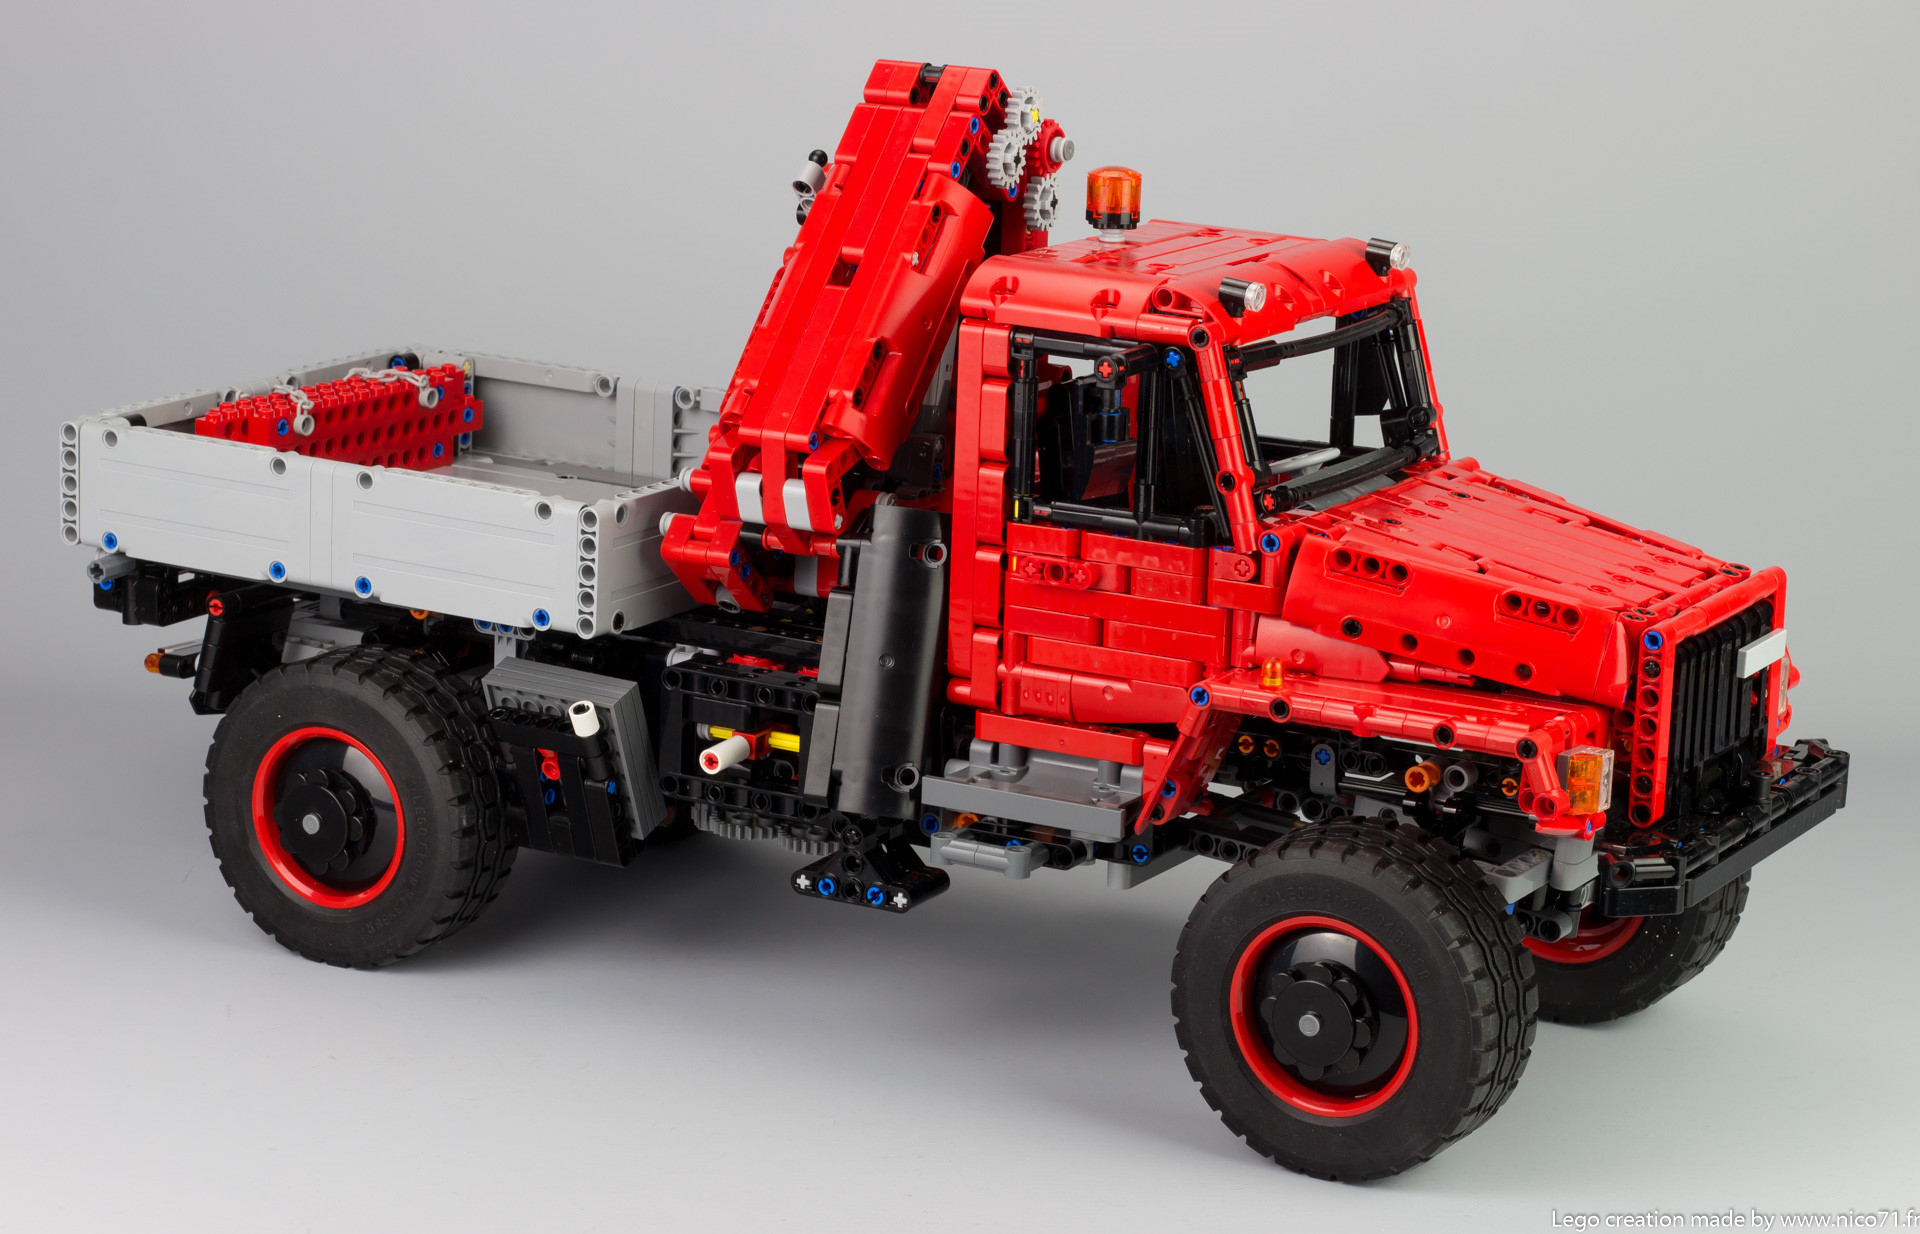
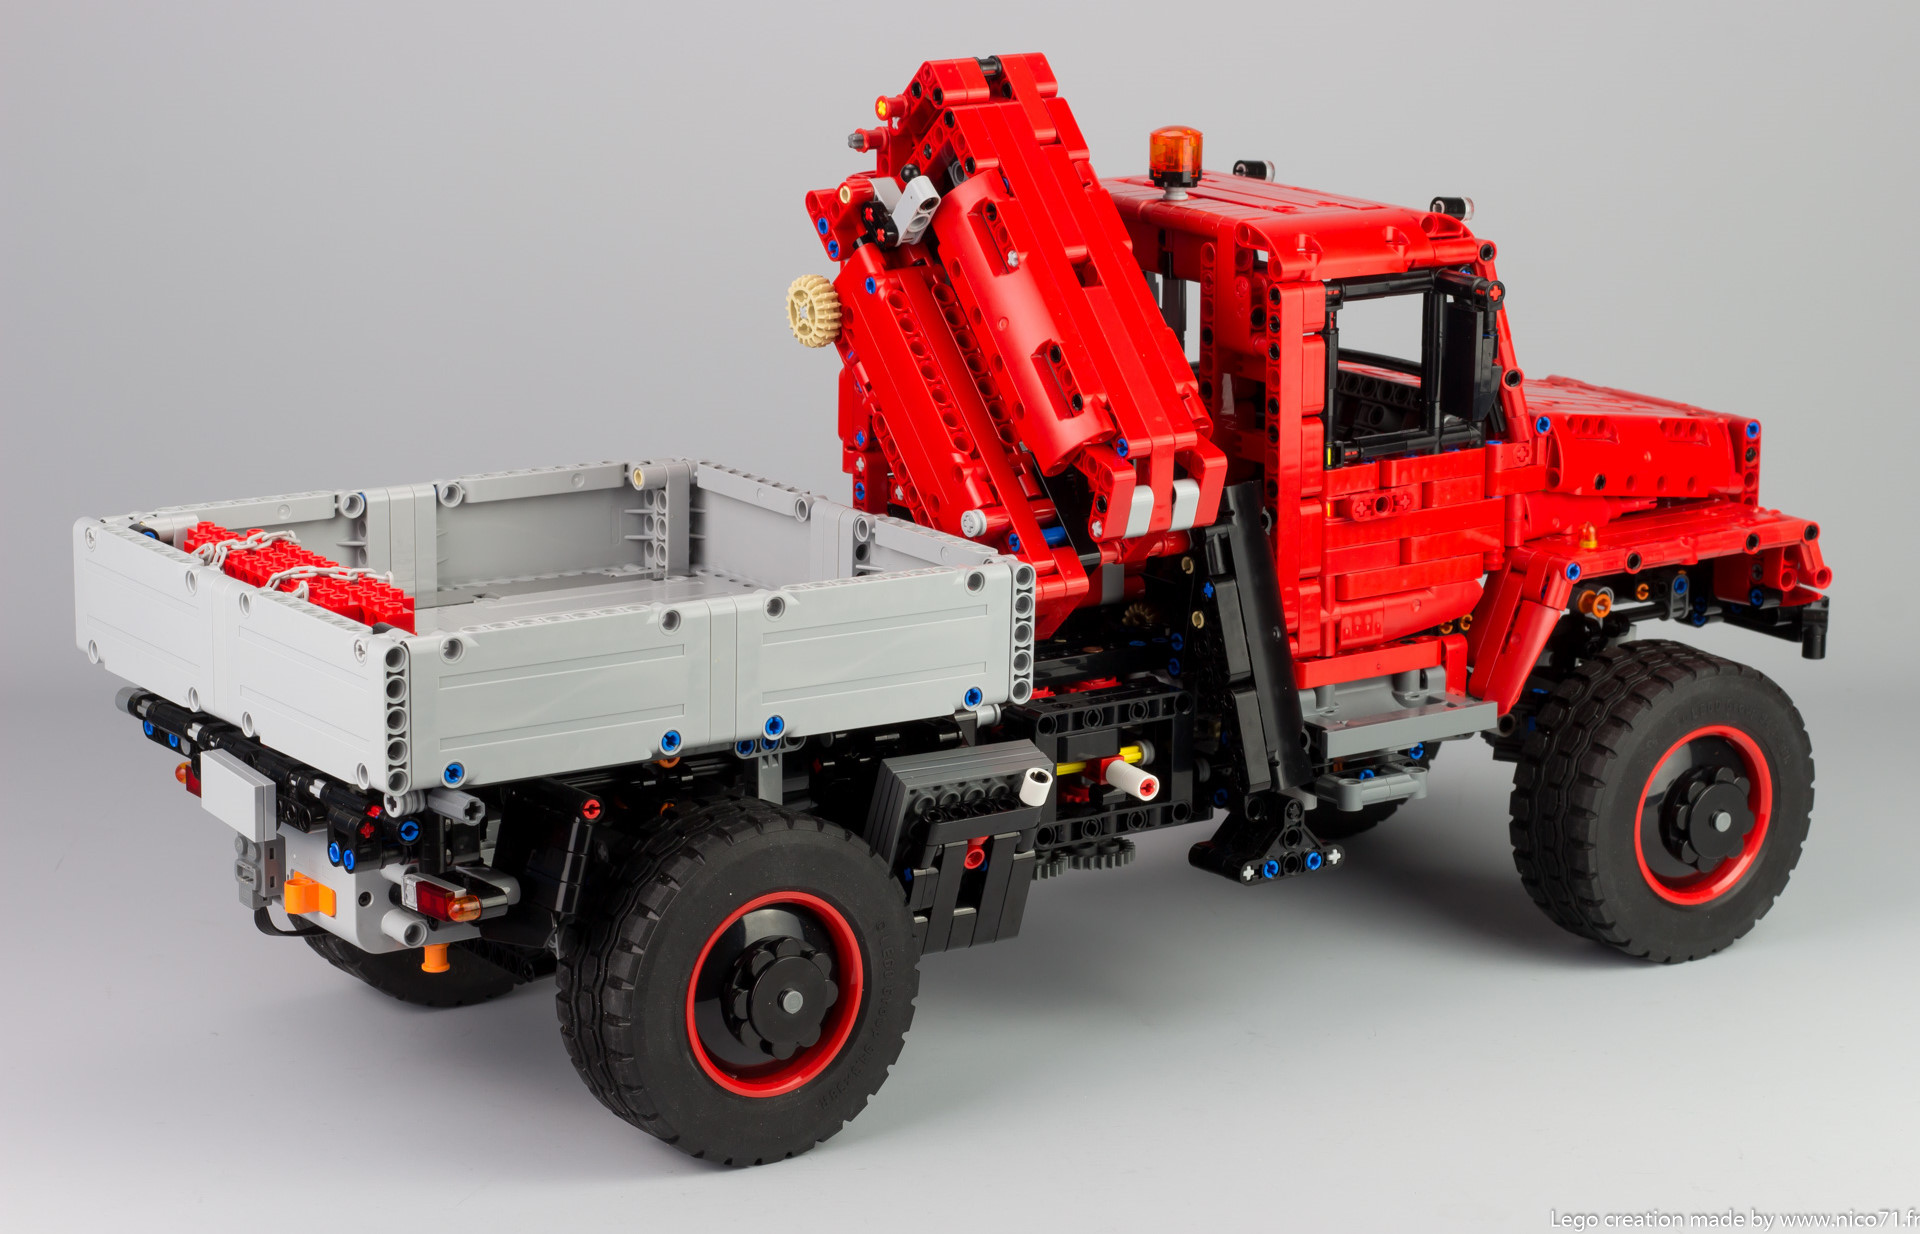
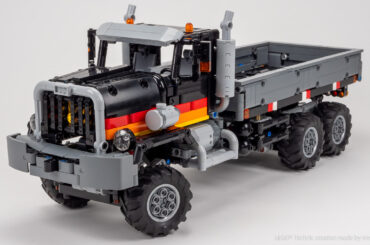
42082 Model E – Offroad Truck
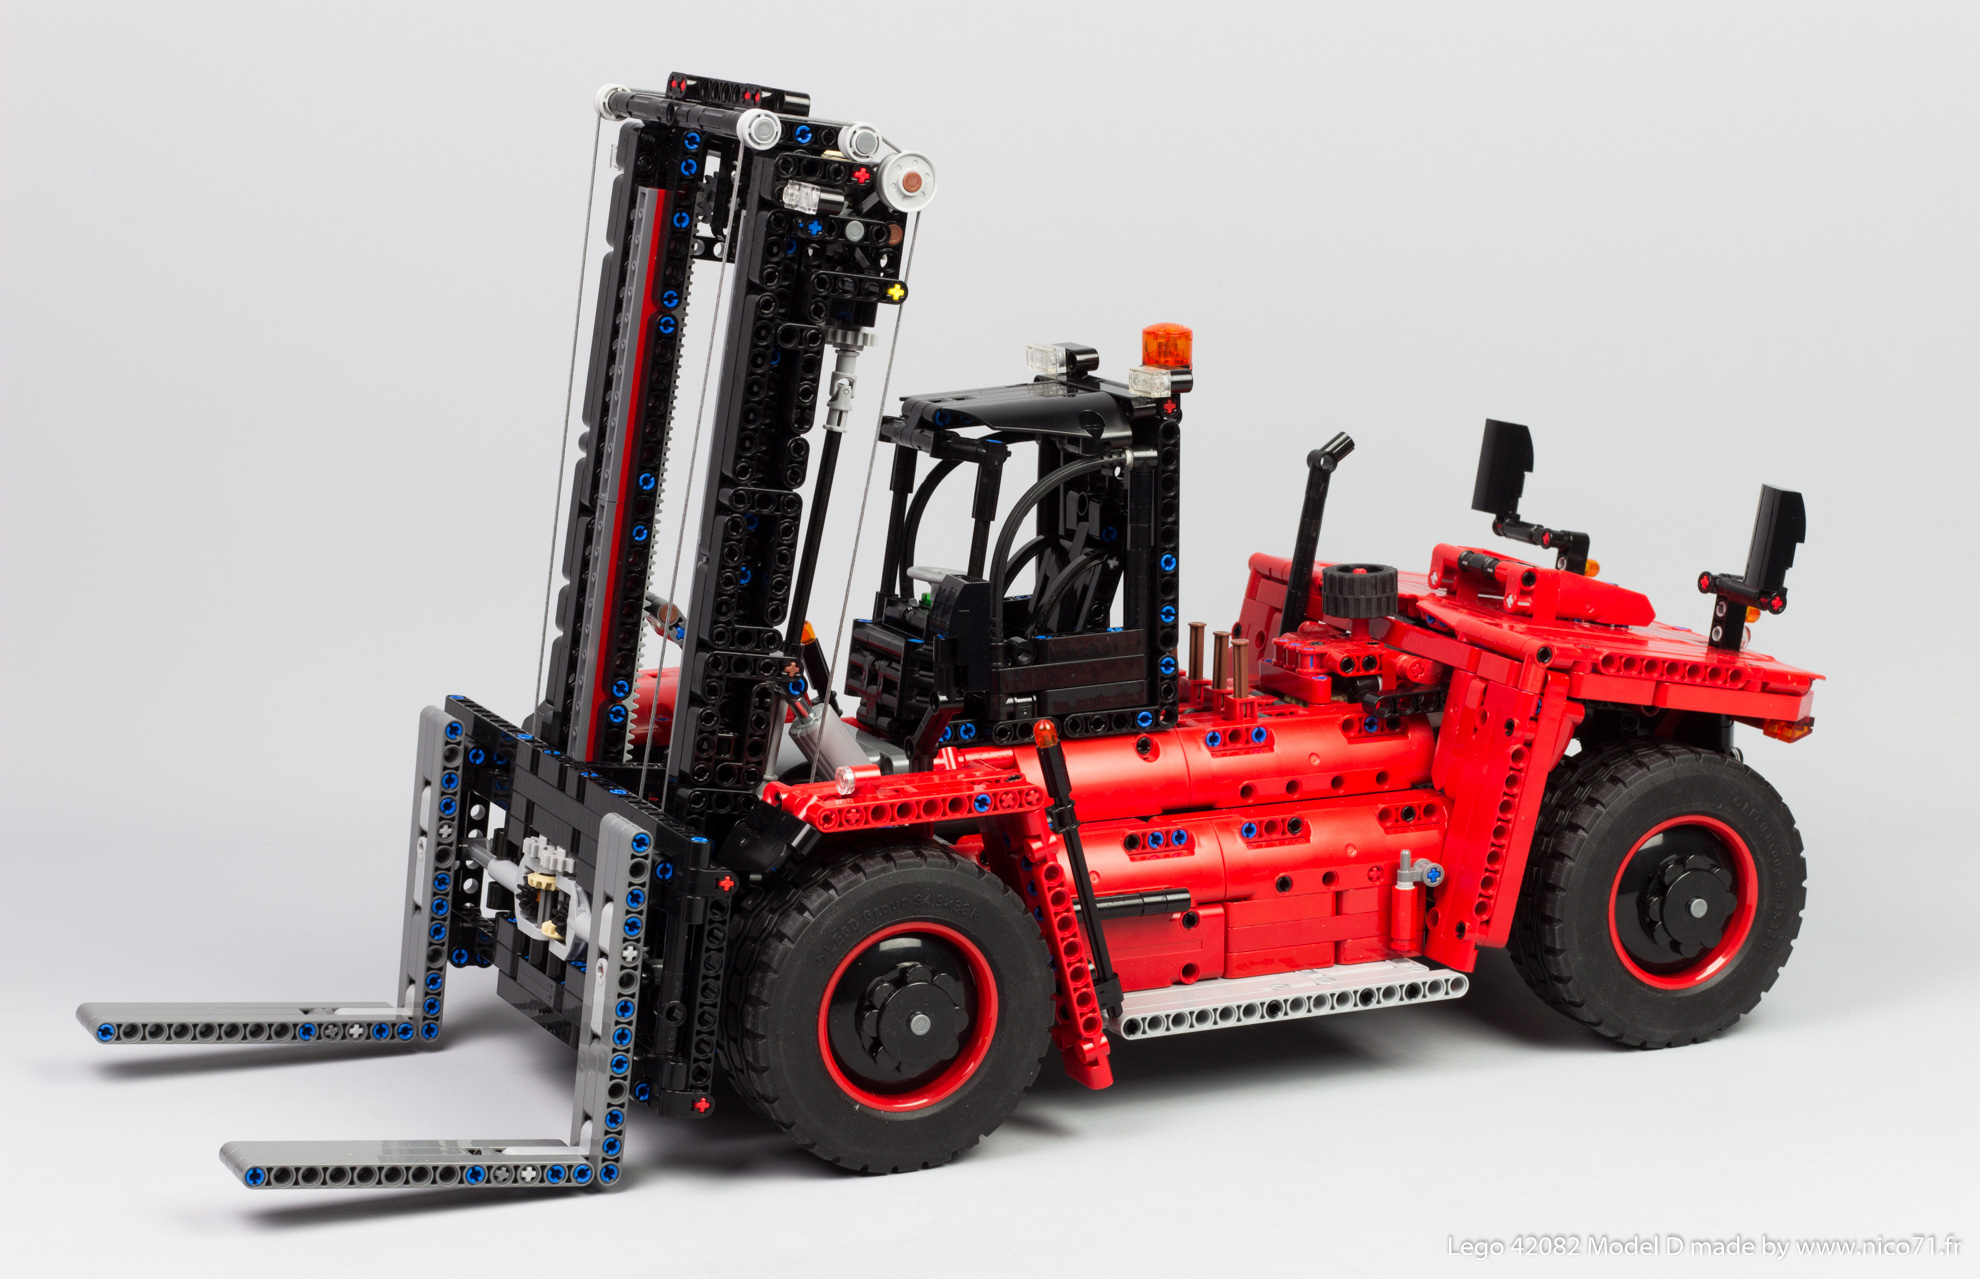
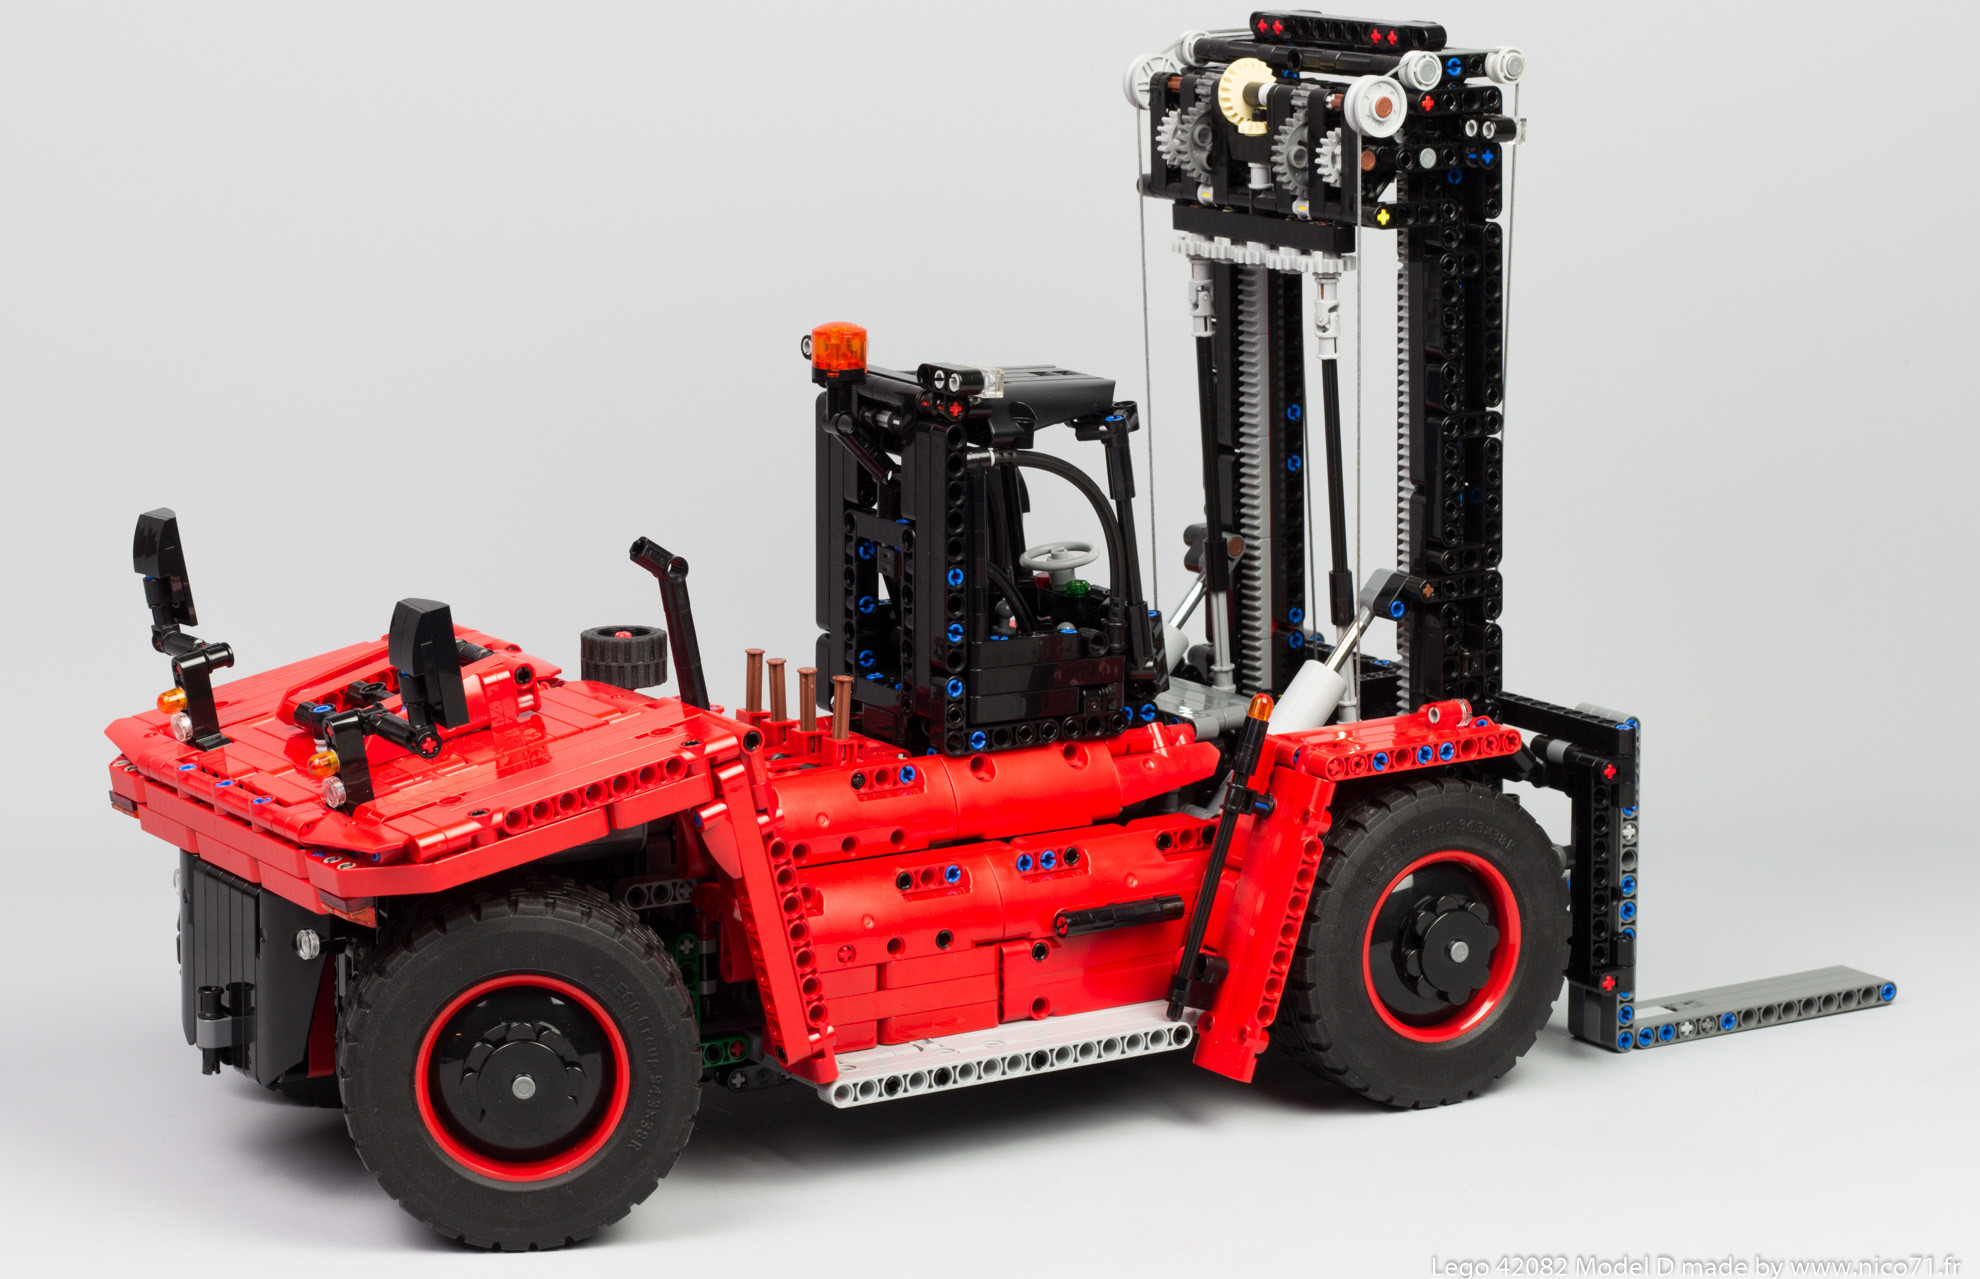
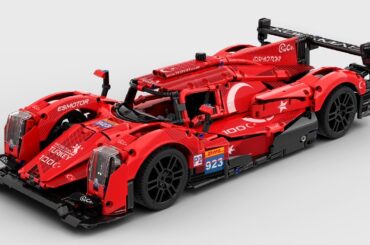
42082 Model D – Forklift Truck

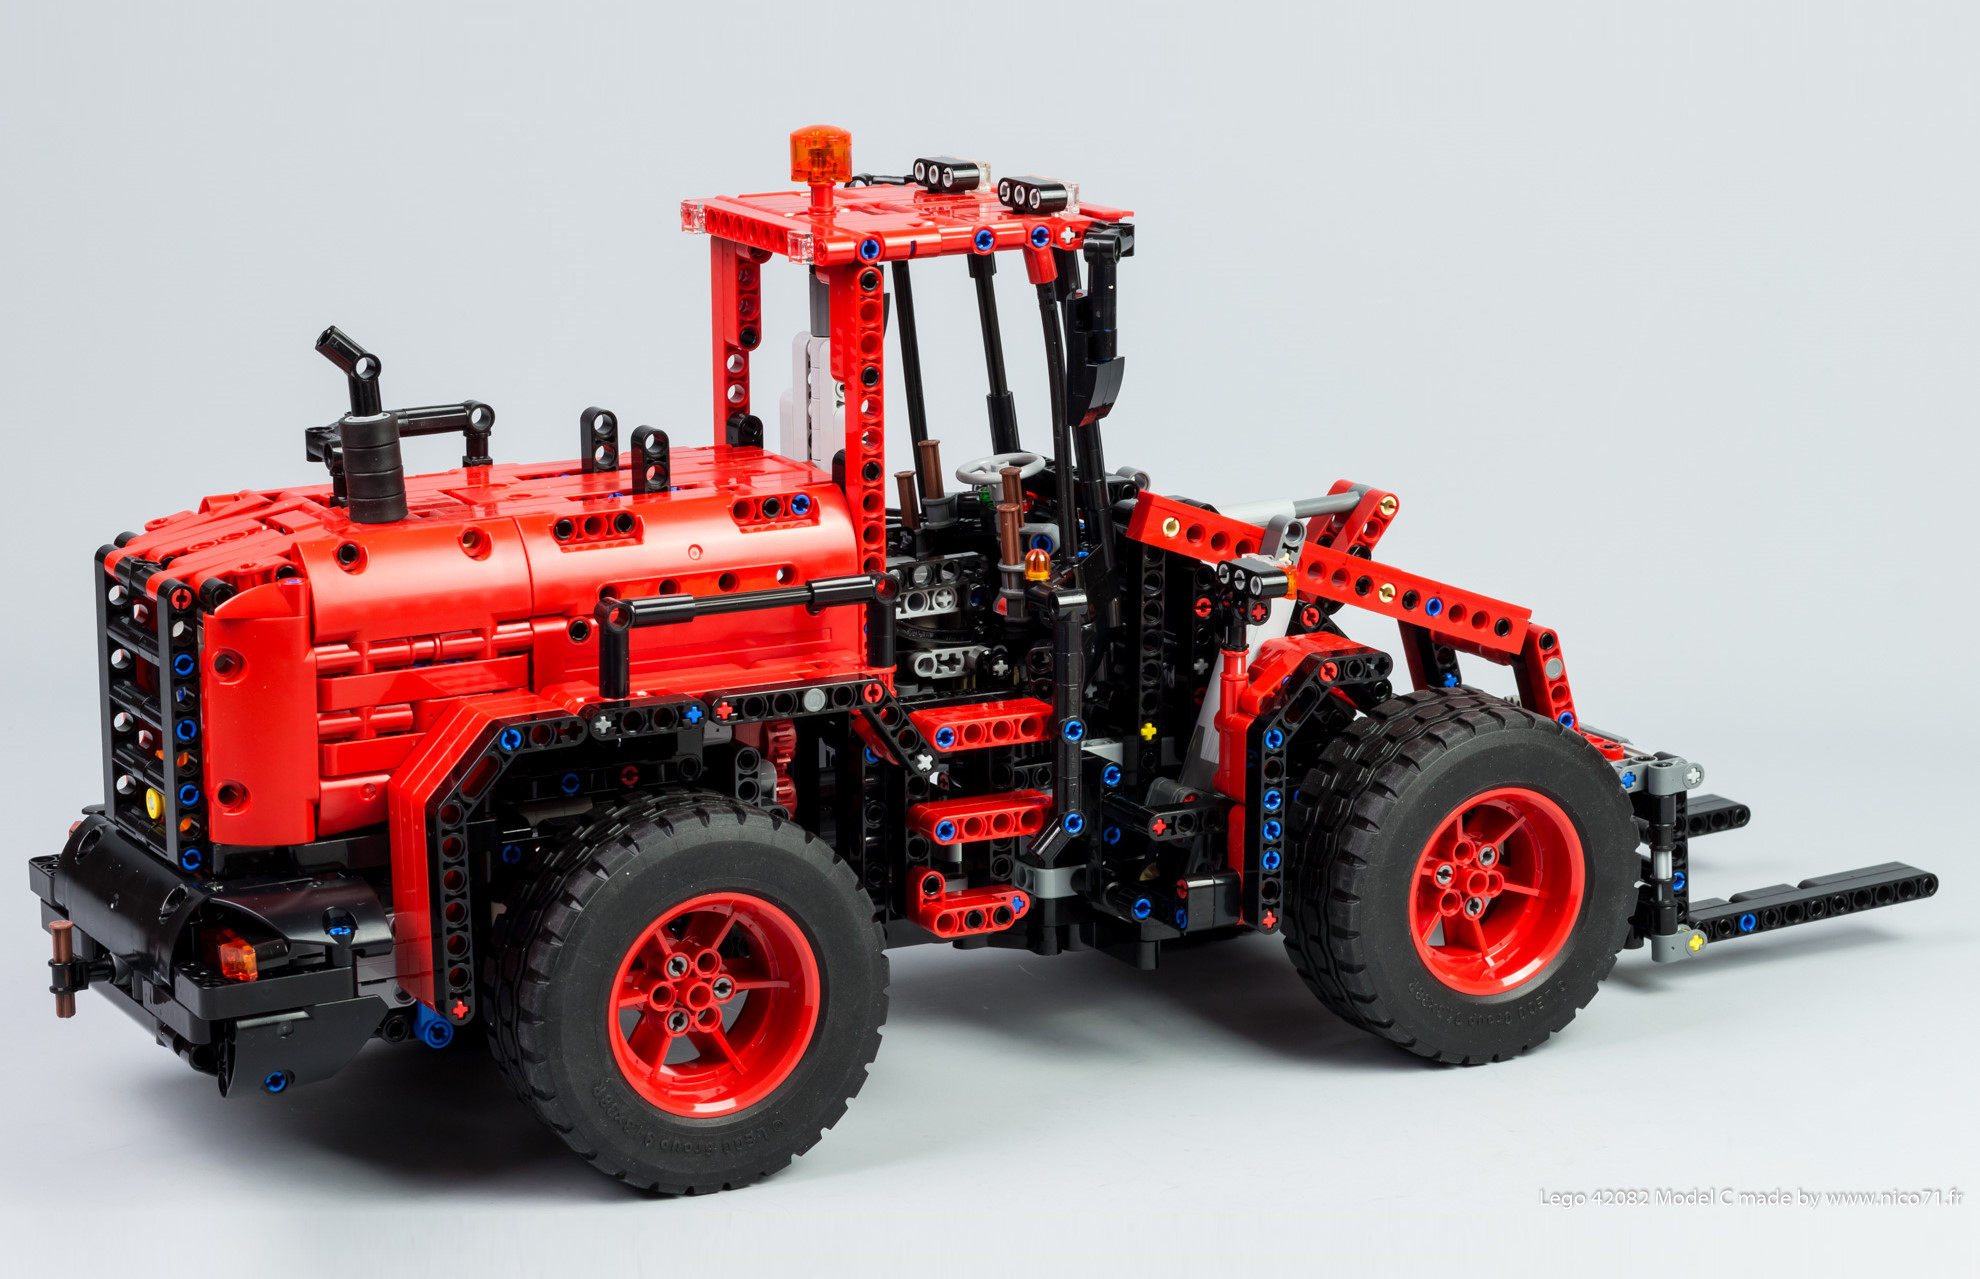
42082 Model C – Wheel Loader
Context
Some time ago, I had the opportunity to get the #42082 rough terrain crane before the official release date, then I build the model A for making a quick review and wanted to build also the model B. But I was not happy to see that the model B had the same chassis than the model A but with different turret. That is why I have decided to create a new proper model C which was different than the first building of lego. Therefore I took apart my model A and start designing a model C.
Note : I truly understand the lego designer choice about not making the model B many different than the model A. I do not think this is because there are lazy or having not enough time to create a new model B. but because the model A is a big model, with almost 4000 parts, and need many time to build (around 10-15h). As the model is focused for children and teenagers, it was not very good to have to dismantle all the model A to create an other, also because the majority of people who buy big lego set, build the A model and display it for collection. That is why I think, lego designer made this model B as a option of the model A with using the main chassis. My model C is a completely different approach, building for giving to the lego fan one more model to build with a restricted inventory which is easy to get.
Functionality
The ideas behind the functionality was easy : I wanted to have the cool functions non motorized, and the boring one motorized. It means that the drives and steering are manual, and that the raising and tilting are powered. For me it is the best approach to have the maximum of playability and are the leitmotiv of my creations.
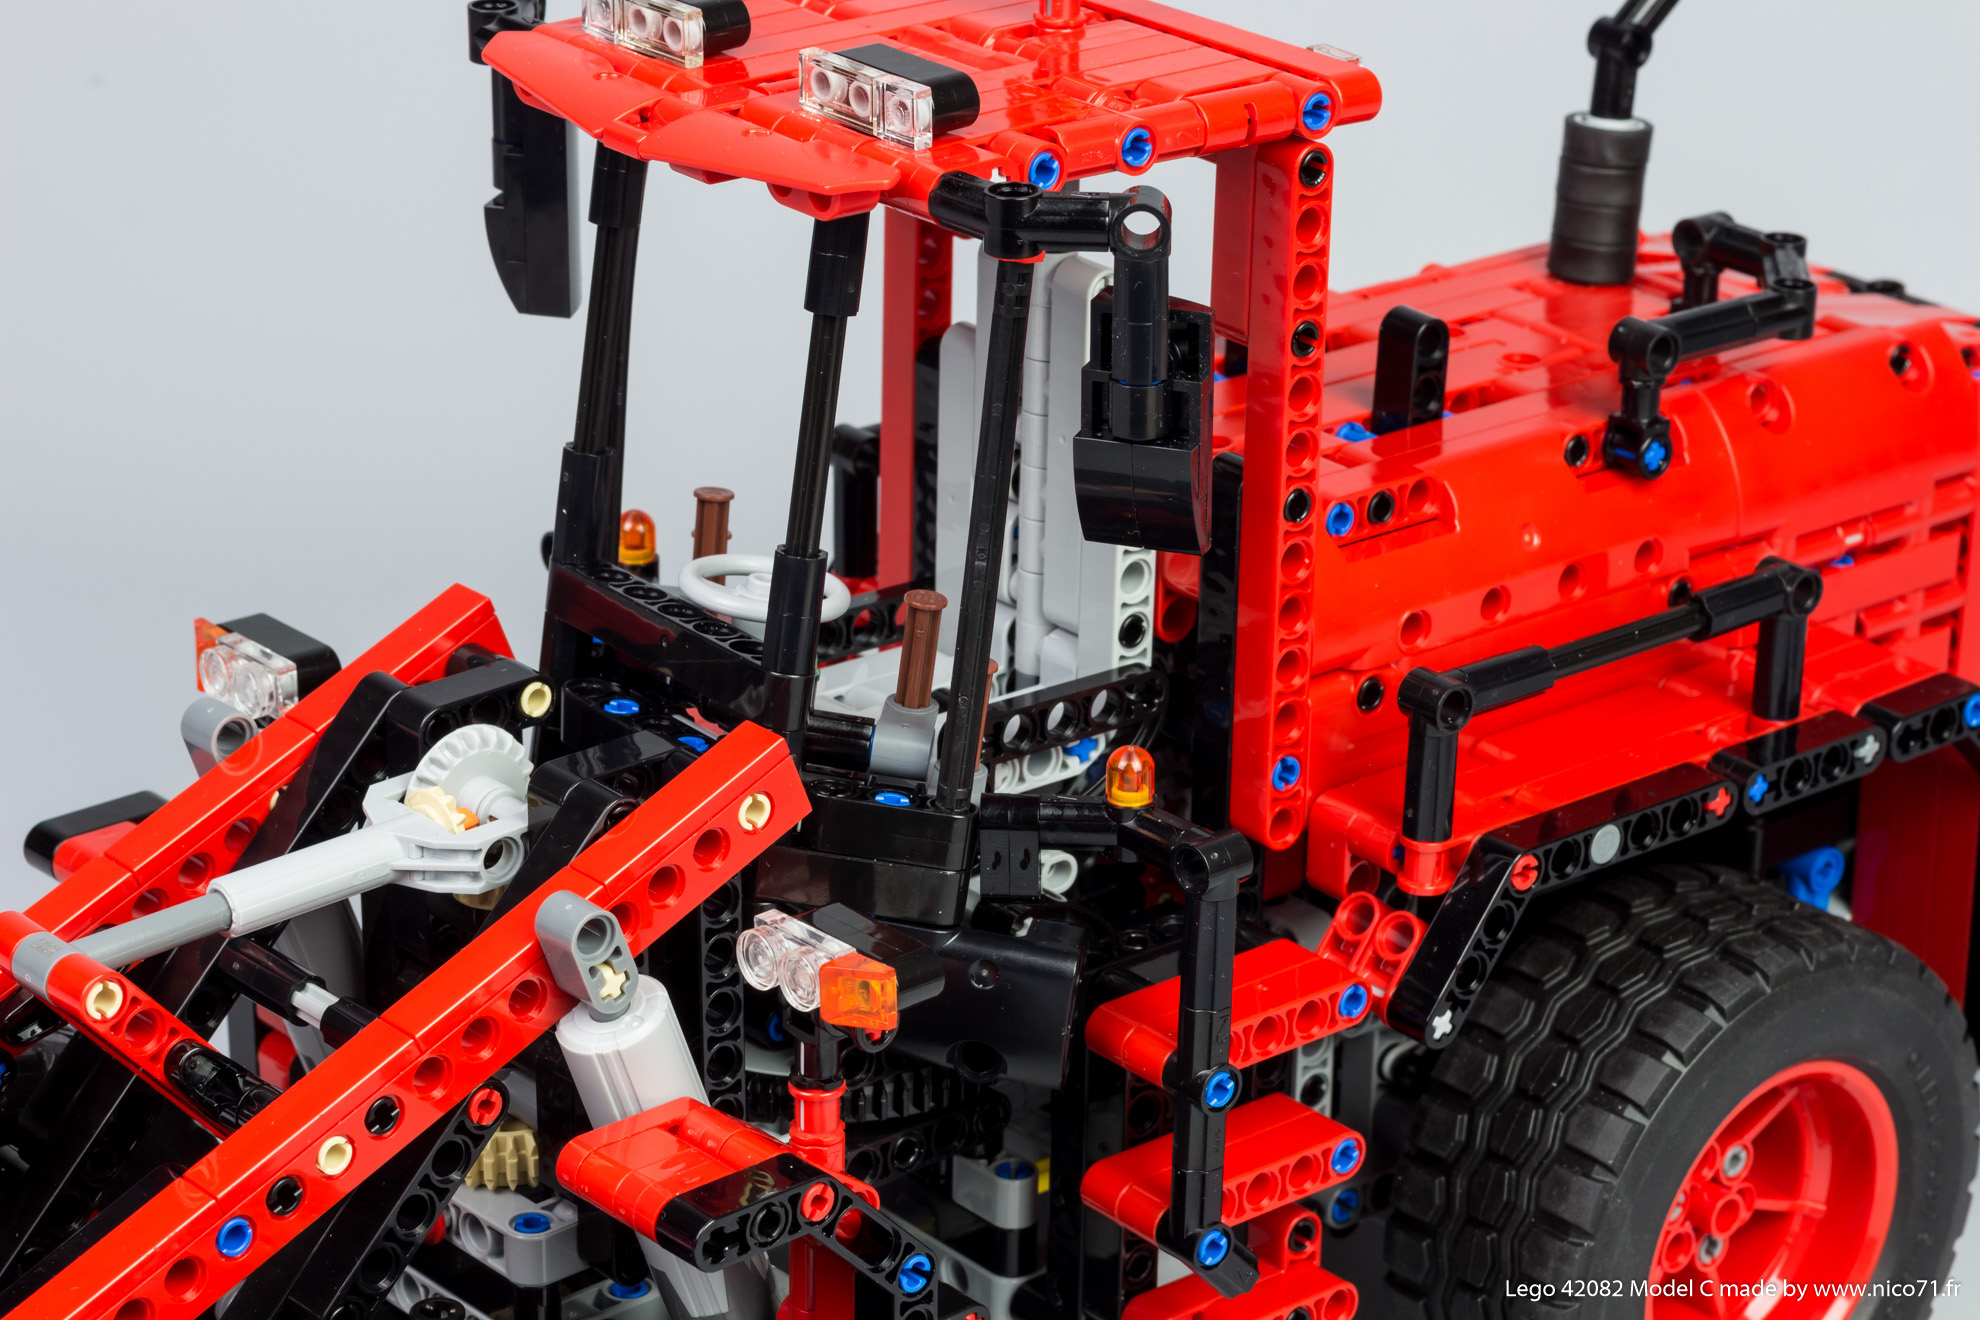
The first function is the steering, which is operated by the beacon on the top on the roof and drives the external gearing of the turntable which is fixed on the main articulation. Then the movement of rotation is transferred to the steering wheel by using gear. Like that, the steering is very smooth and realistic with the steering wheel.
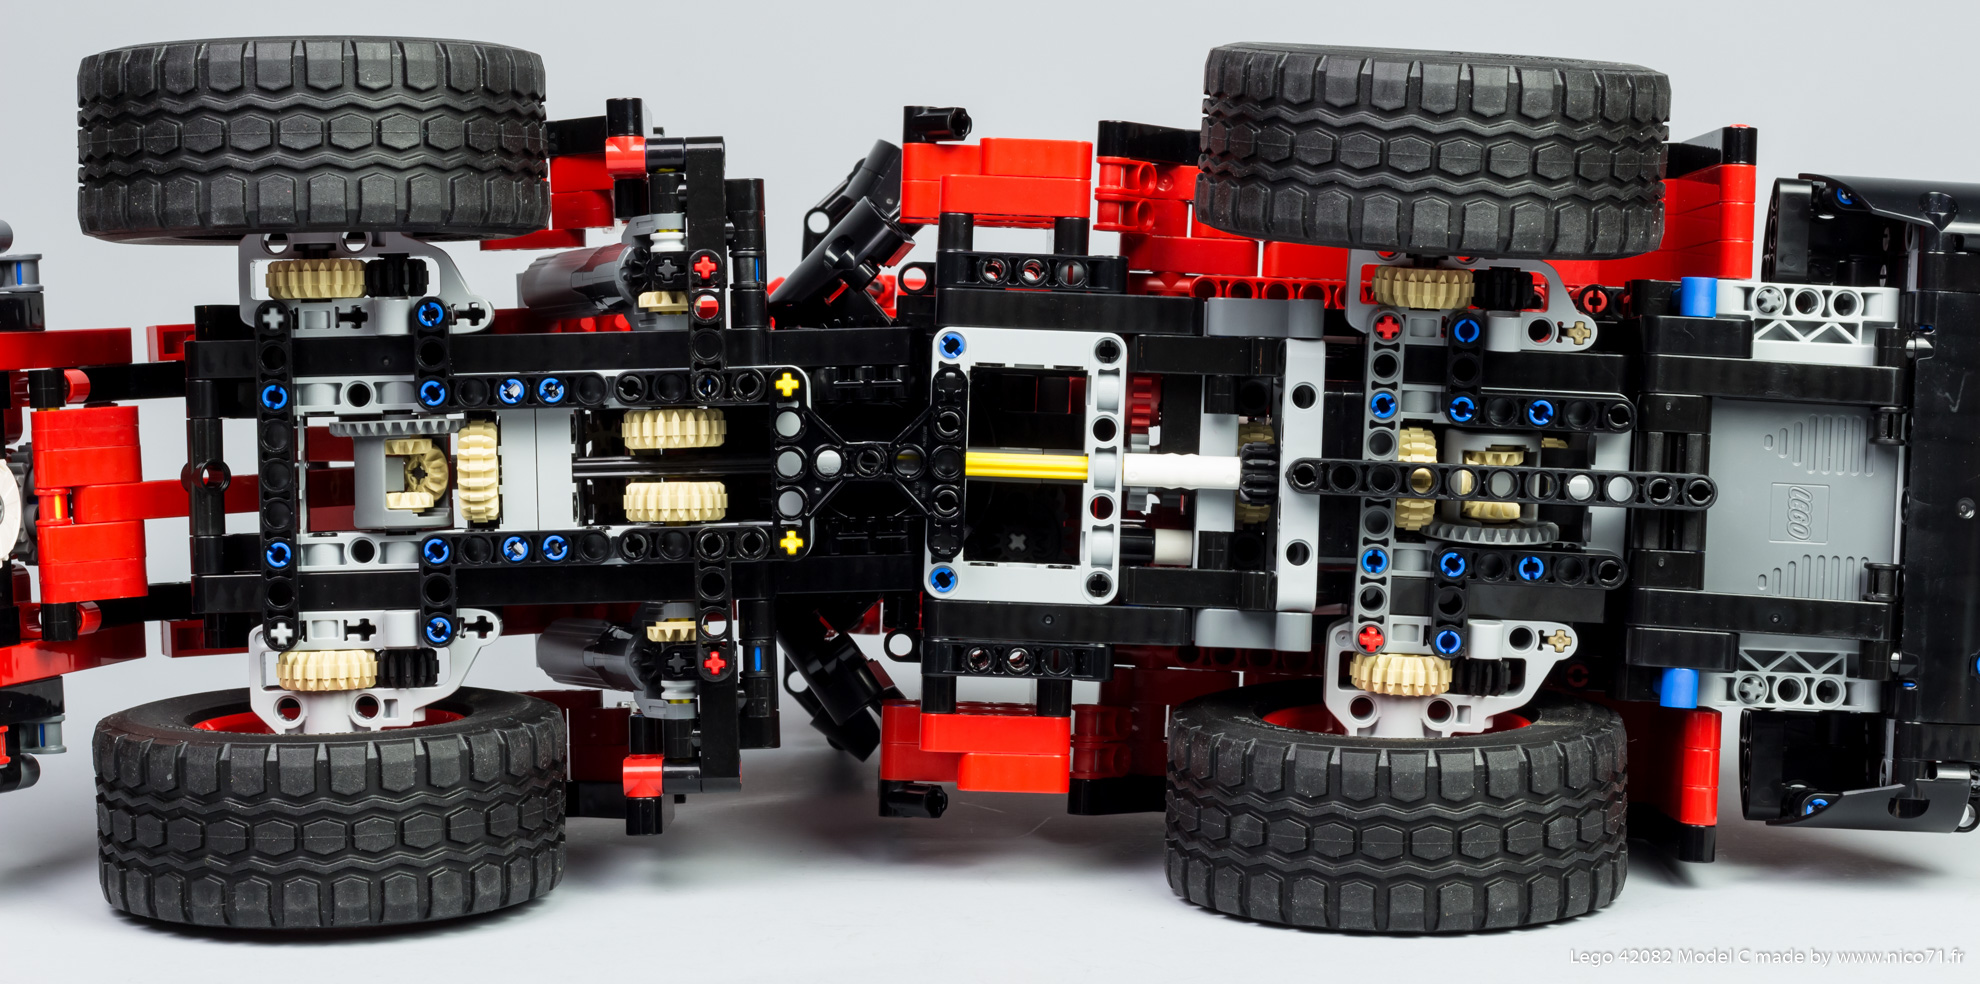
The second function (which is a passive function) is the drives with the detailed fake engine. The wheel loader have a 4×4 transmission with a fake V6 engine placed at the rear. It uses classically differentials on each axle but no differential on the center because the pivot point is placed at equal distance of each axle.
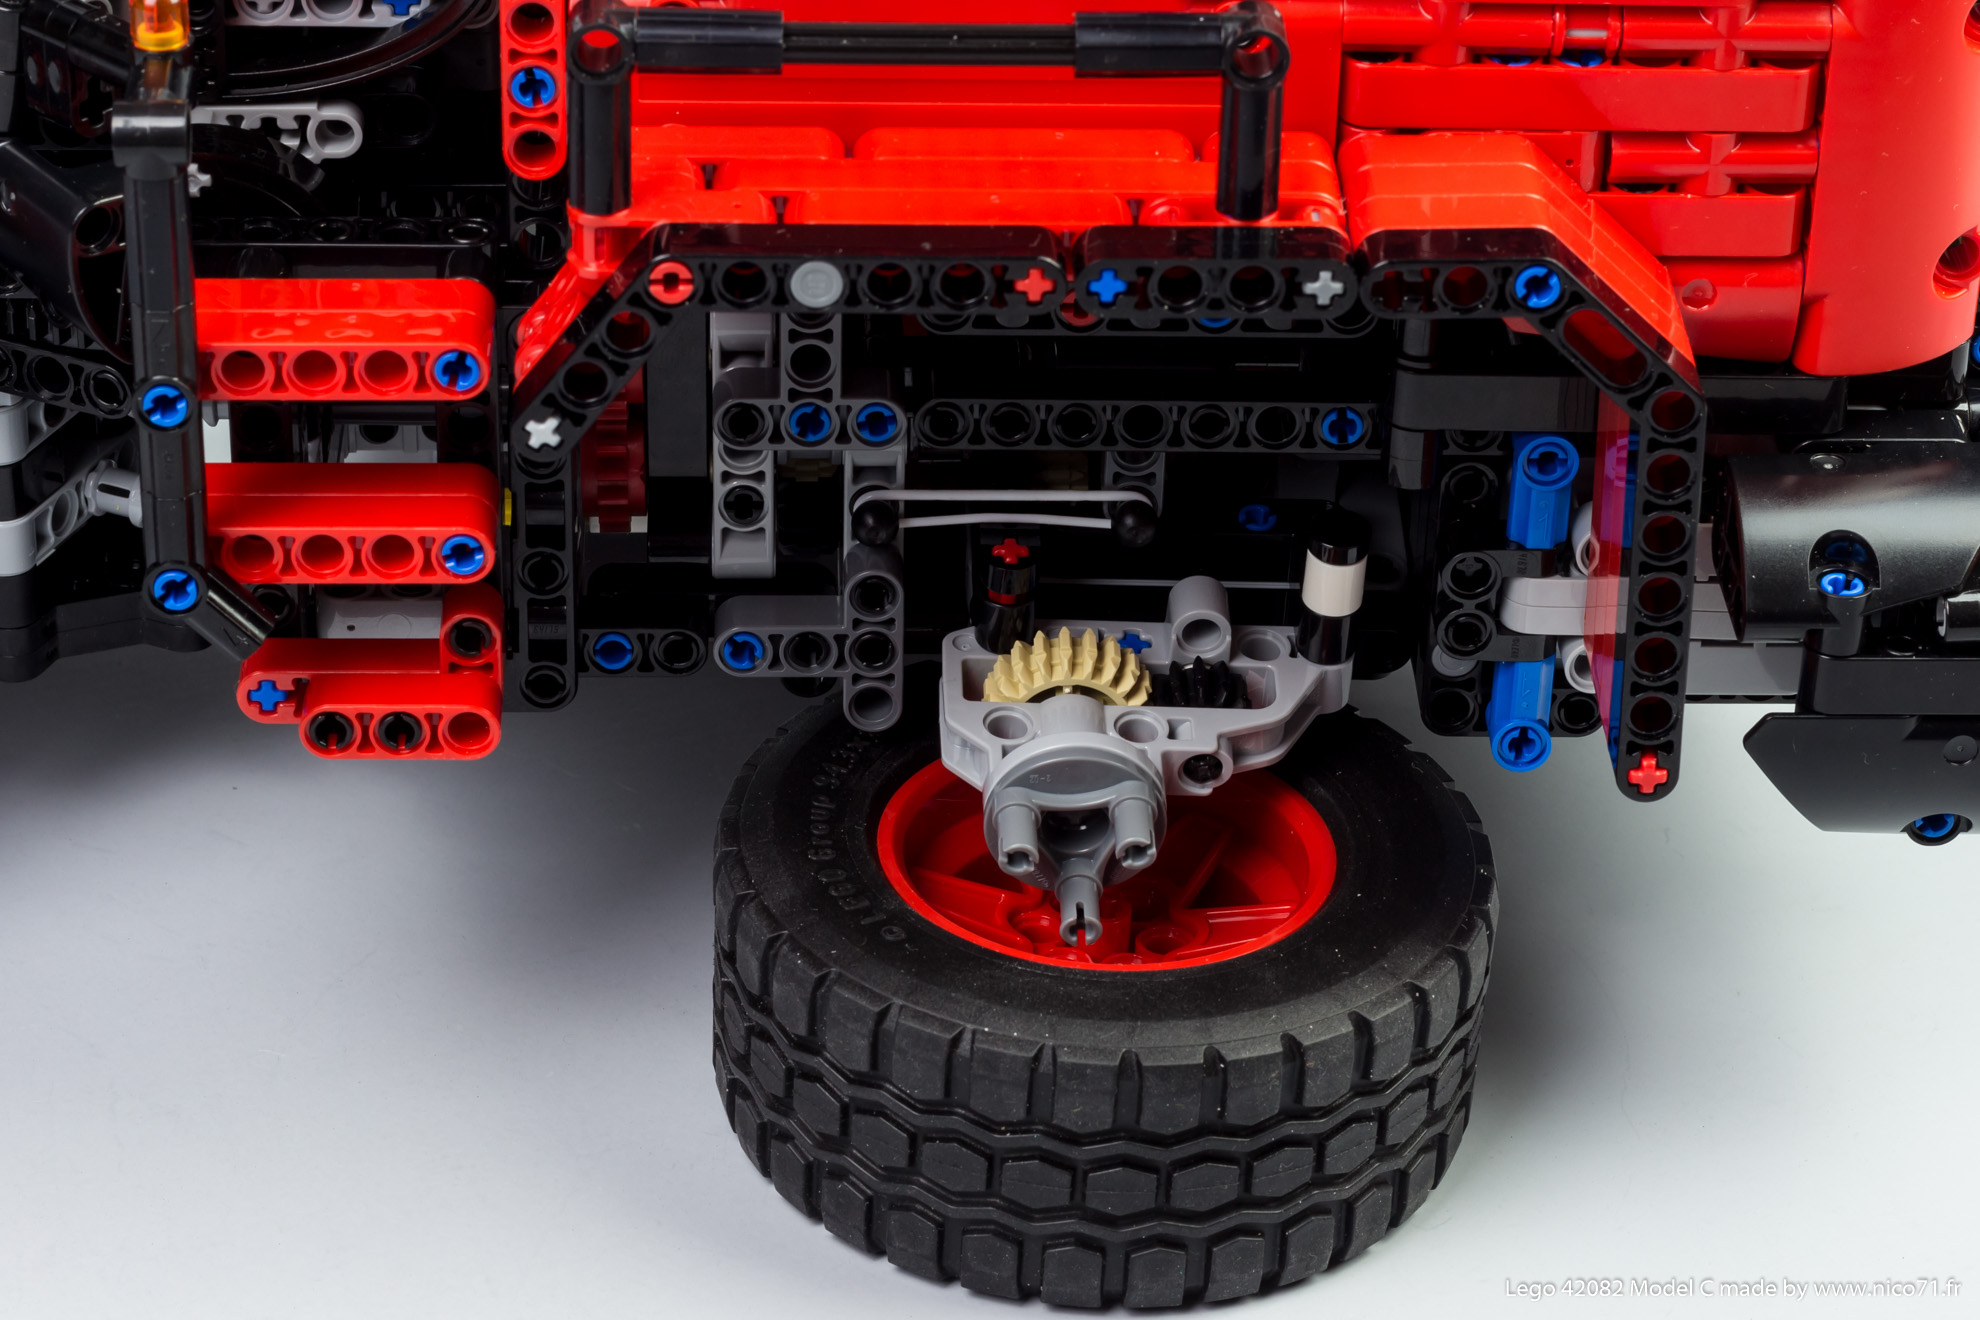
The next function is the oscillating rear axle. It has a pendular suspension with articulation made by a friction-less pin on one side, and the drive-train axle on other side. In order to prevent easy oscillating, I placed a rubber band on each side which tends to reduce the oscillating. There are also two end-stop in order that the tyre do not touch the mudguard at full oscillating.
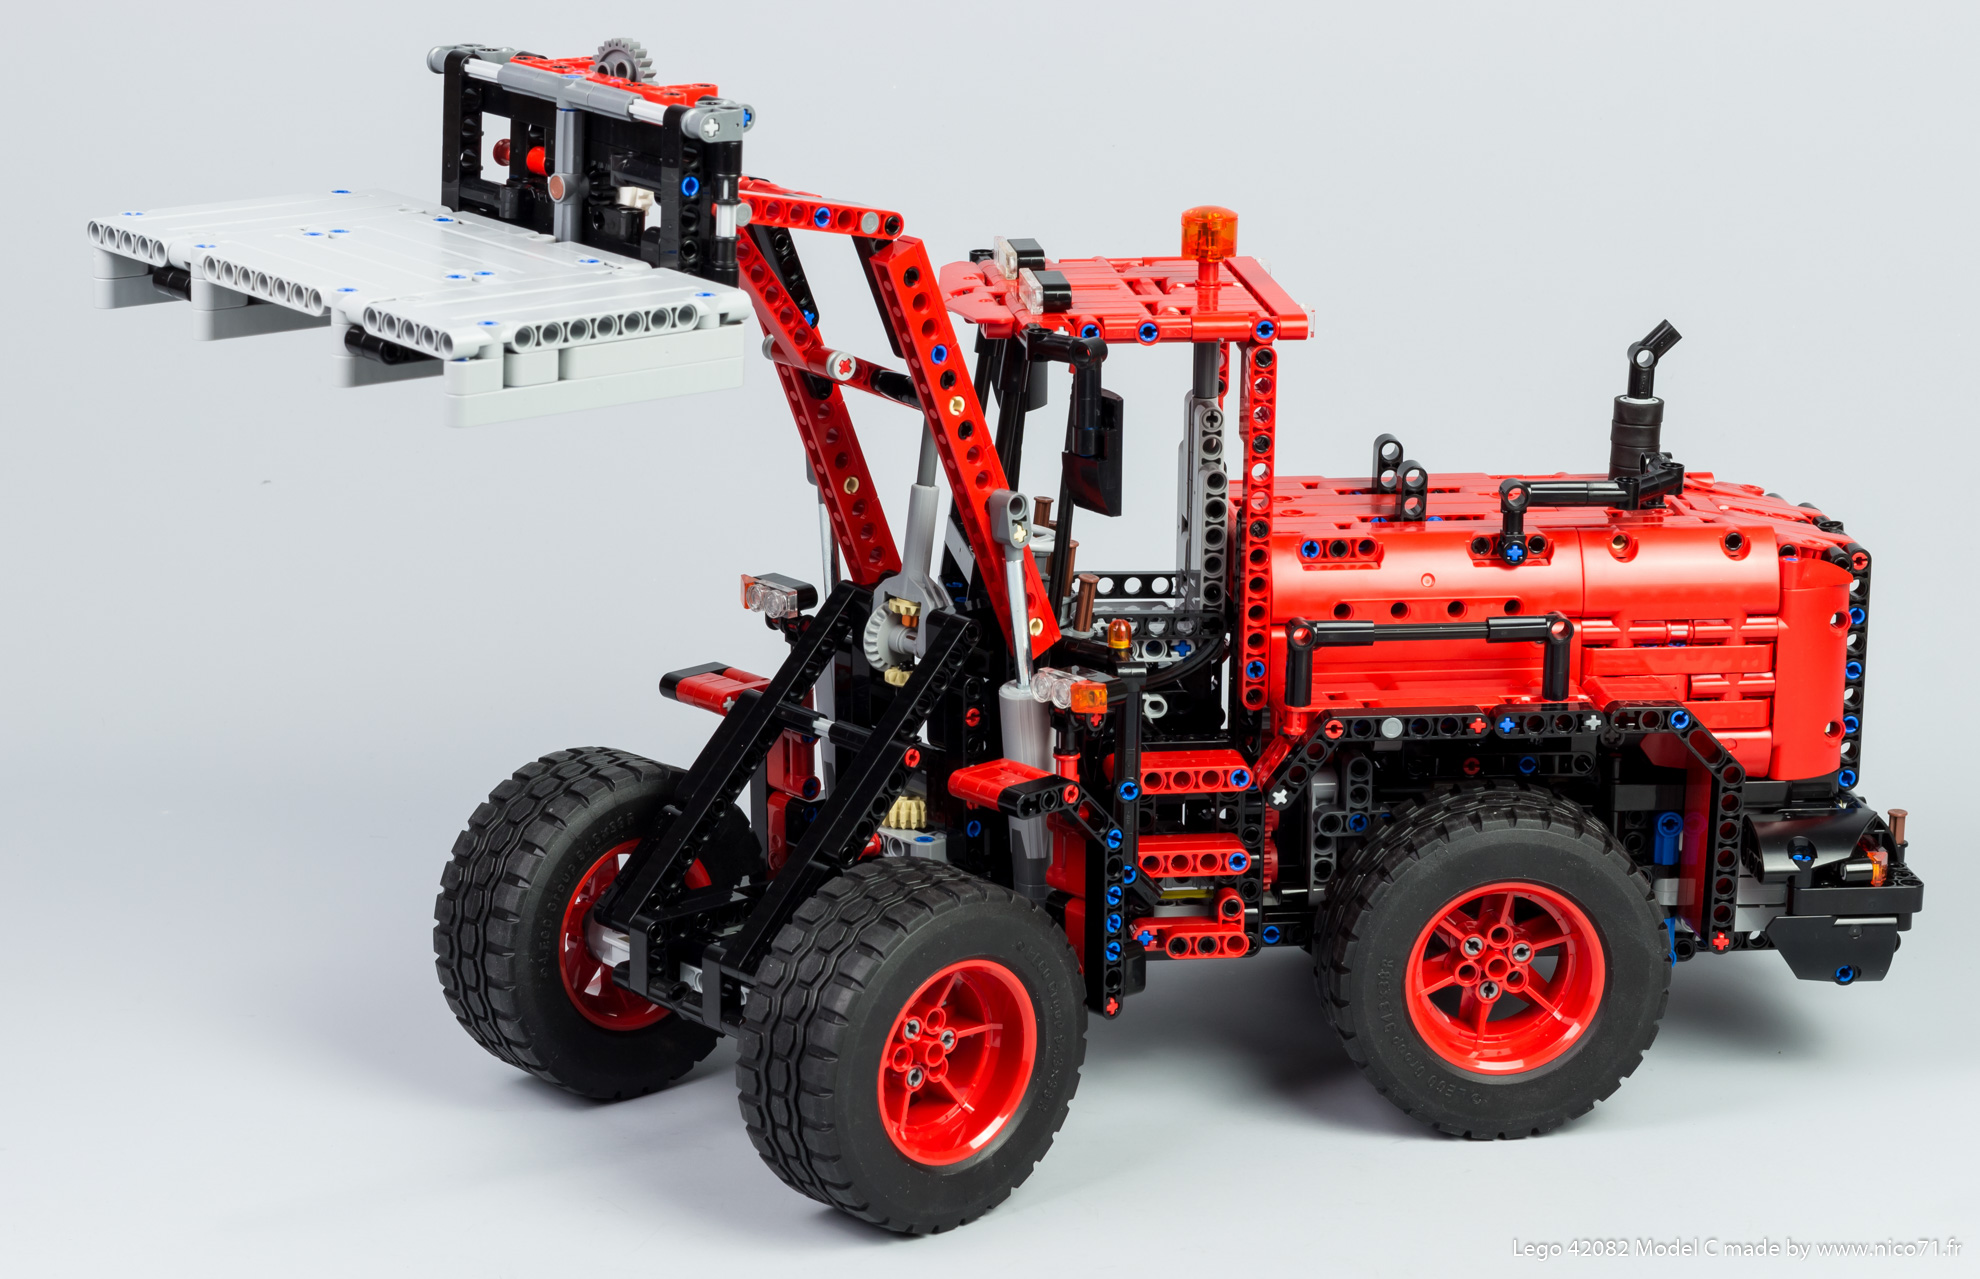
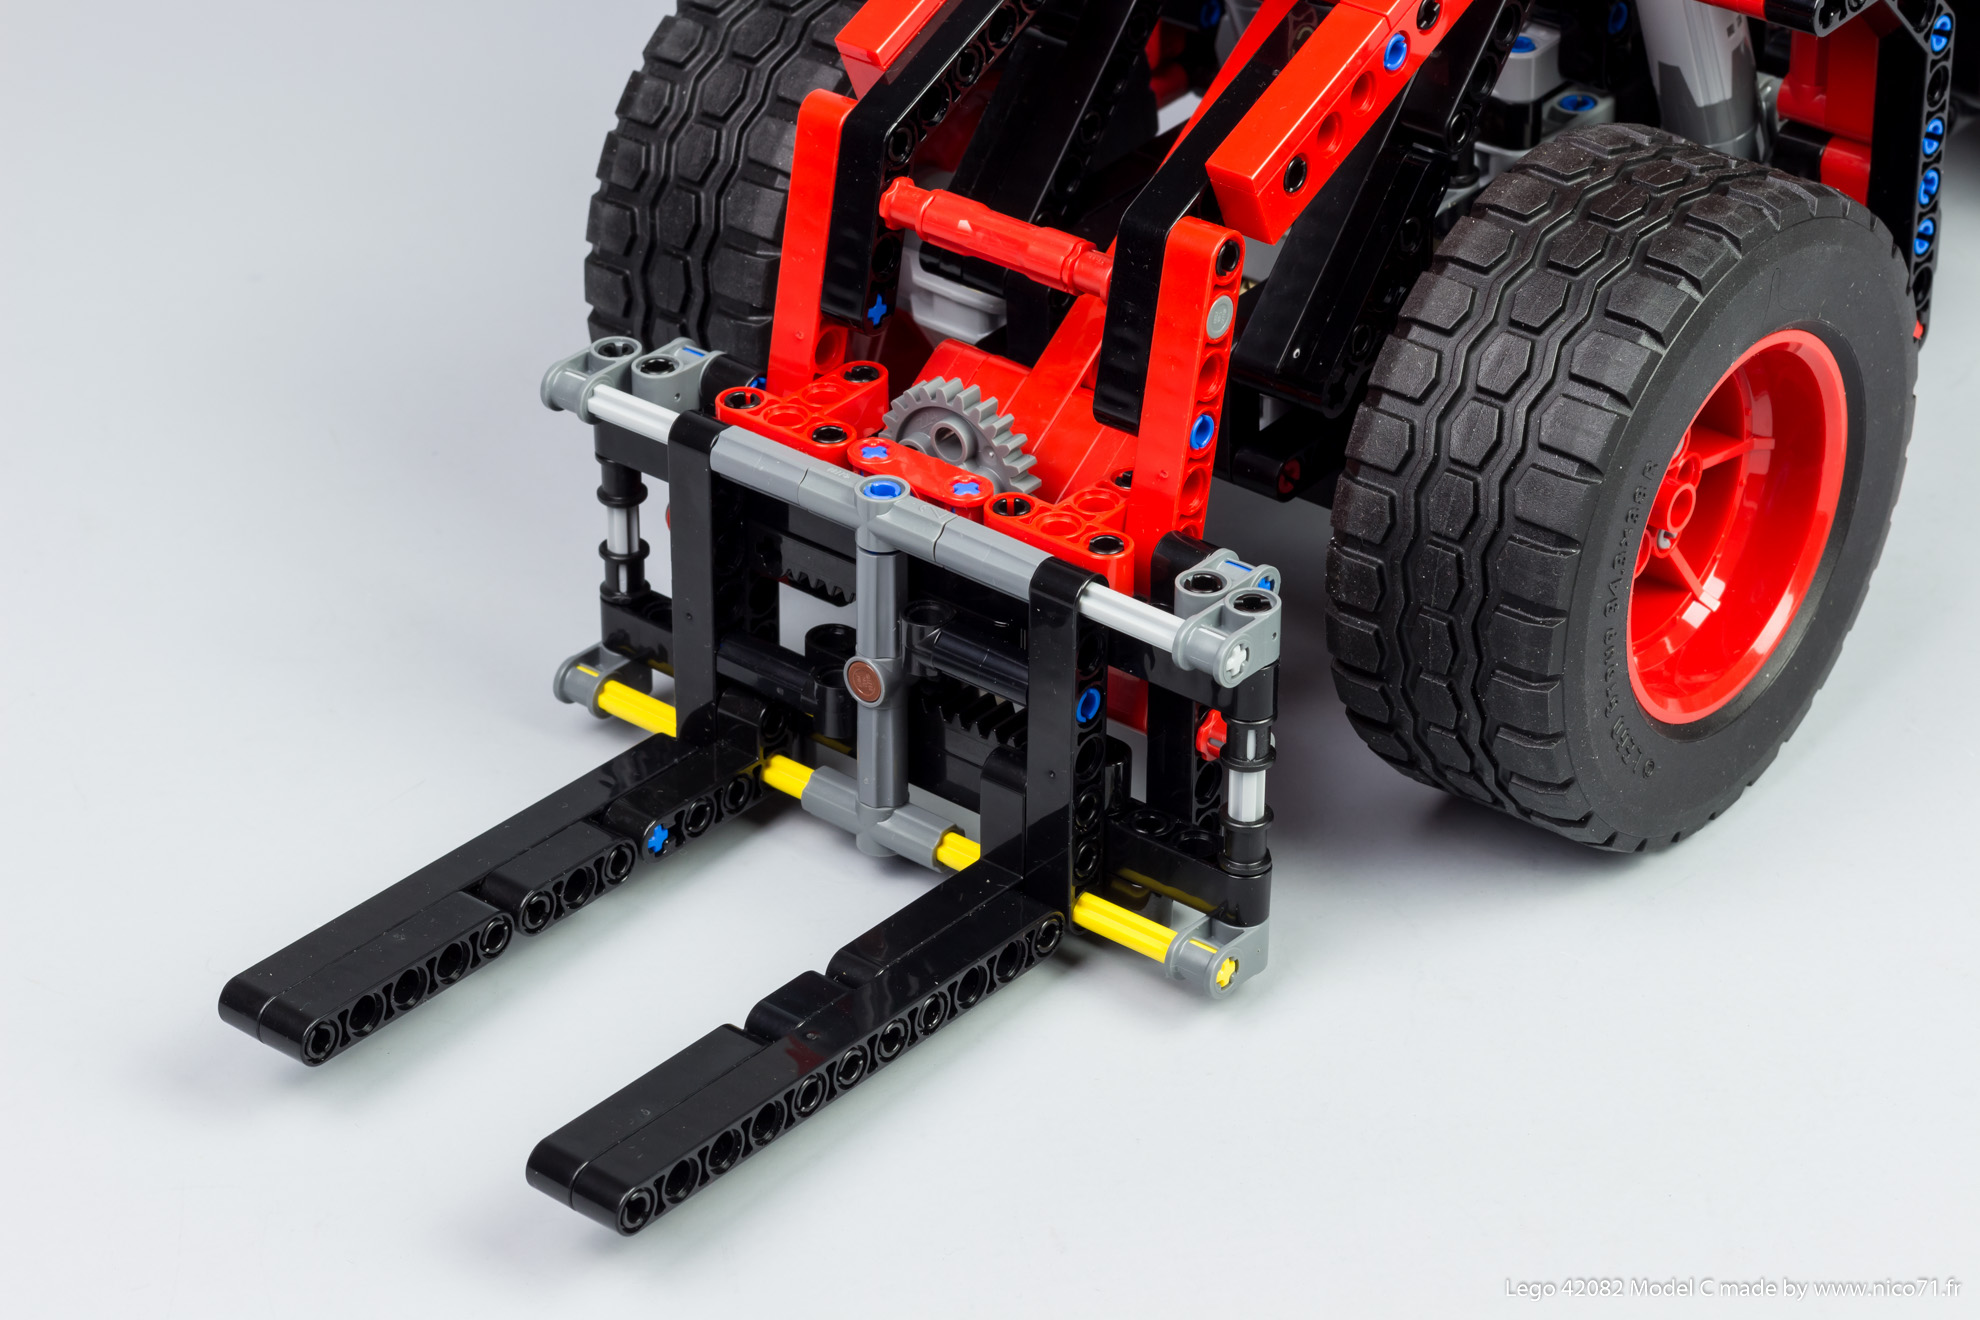
Next functions are the most important, the operating fork with raising, tilting and adjustable width. Only the two first ones are motorized. Indeed, the L motor is placed in the bottom of the loader, on the top of the fake engine. It drives a dual gearbox with a switch on each, like that the functions can be operated independently (and in the same time). The gearbox is on the same principle has the model A, with a central reverser which makes rotate the 16tooth gear with clutch in different way, ensuring the control in both direction of the functions.
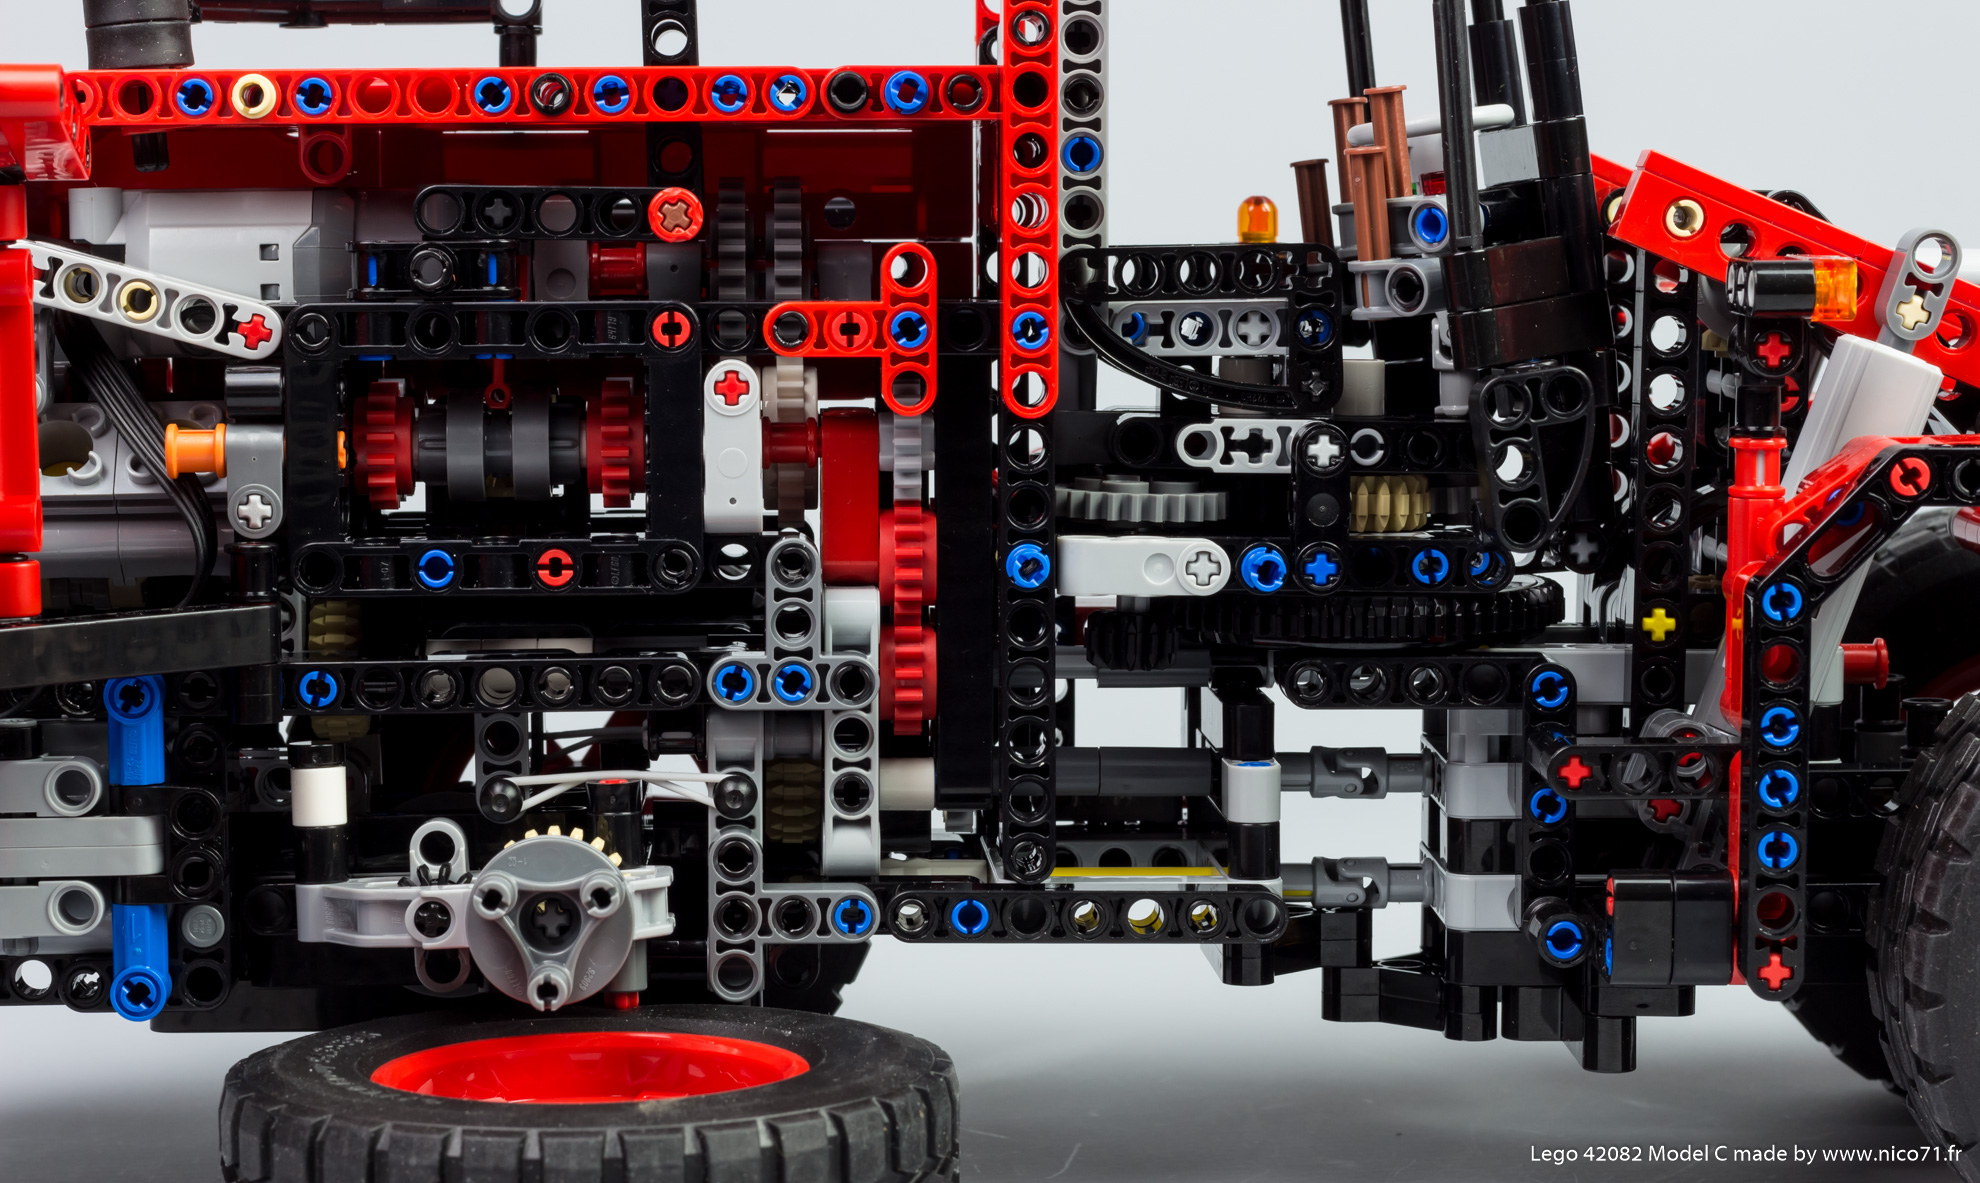
After the gearbox, the movement of the axle are centered to the chassis, and goes to 2 universal joins underneath the turntable. Then they arrives in the front chassis and powered the large linear actuators below which raise the fork, and the small linear actuator on the top which tilts the fork. The tilting of the fork is also equipped with a special geometry which enable to fork to stay in same orientation when it is raised, similar at the real wheel loader. Regarding the adjustable width of the fork, this is a function which for me as to be motorized for better playability, but it was too complex, that is why this is manual operated. Each fork can slide and they are connected to a rack, then a center pinion make the fork move on opposite direction.
Design
The design is a important part, first of all to make the model recognizable and be nice to see for the audience, but also to make the model playable. For me, the design has a visual function, but also have to enhance the functionality or the playability of the model. For example : the mudguard can be opened with a dual link motion and reveal the fake engine and the rear railing cover can be opened. These are panel for only make the design of the rear body, so it has to be nice and well done, but it is also used as a demonstration function.
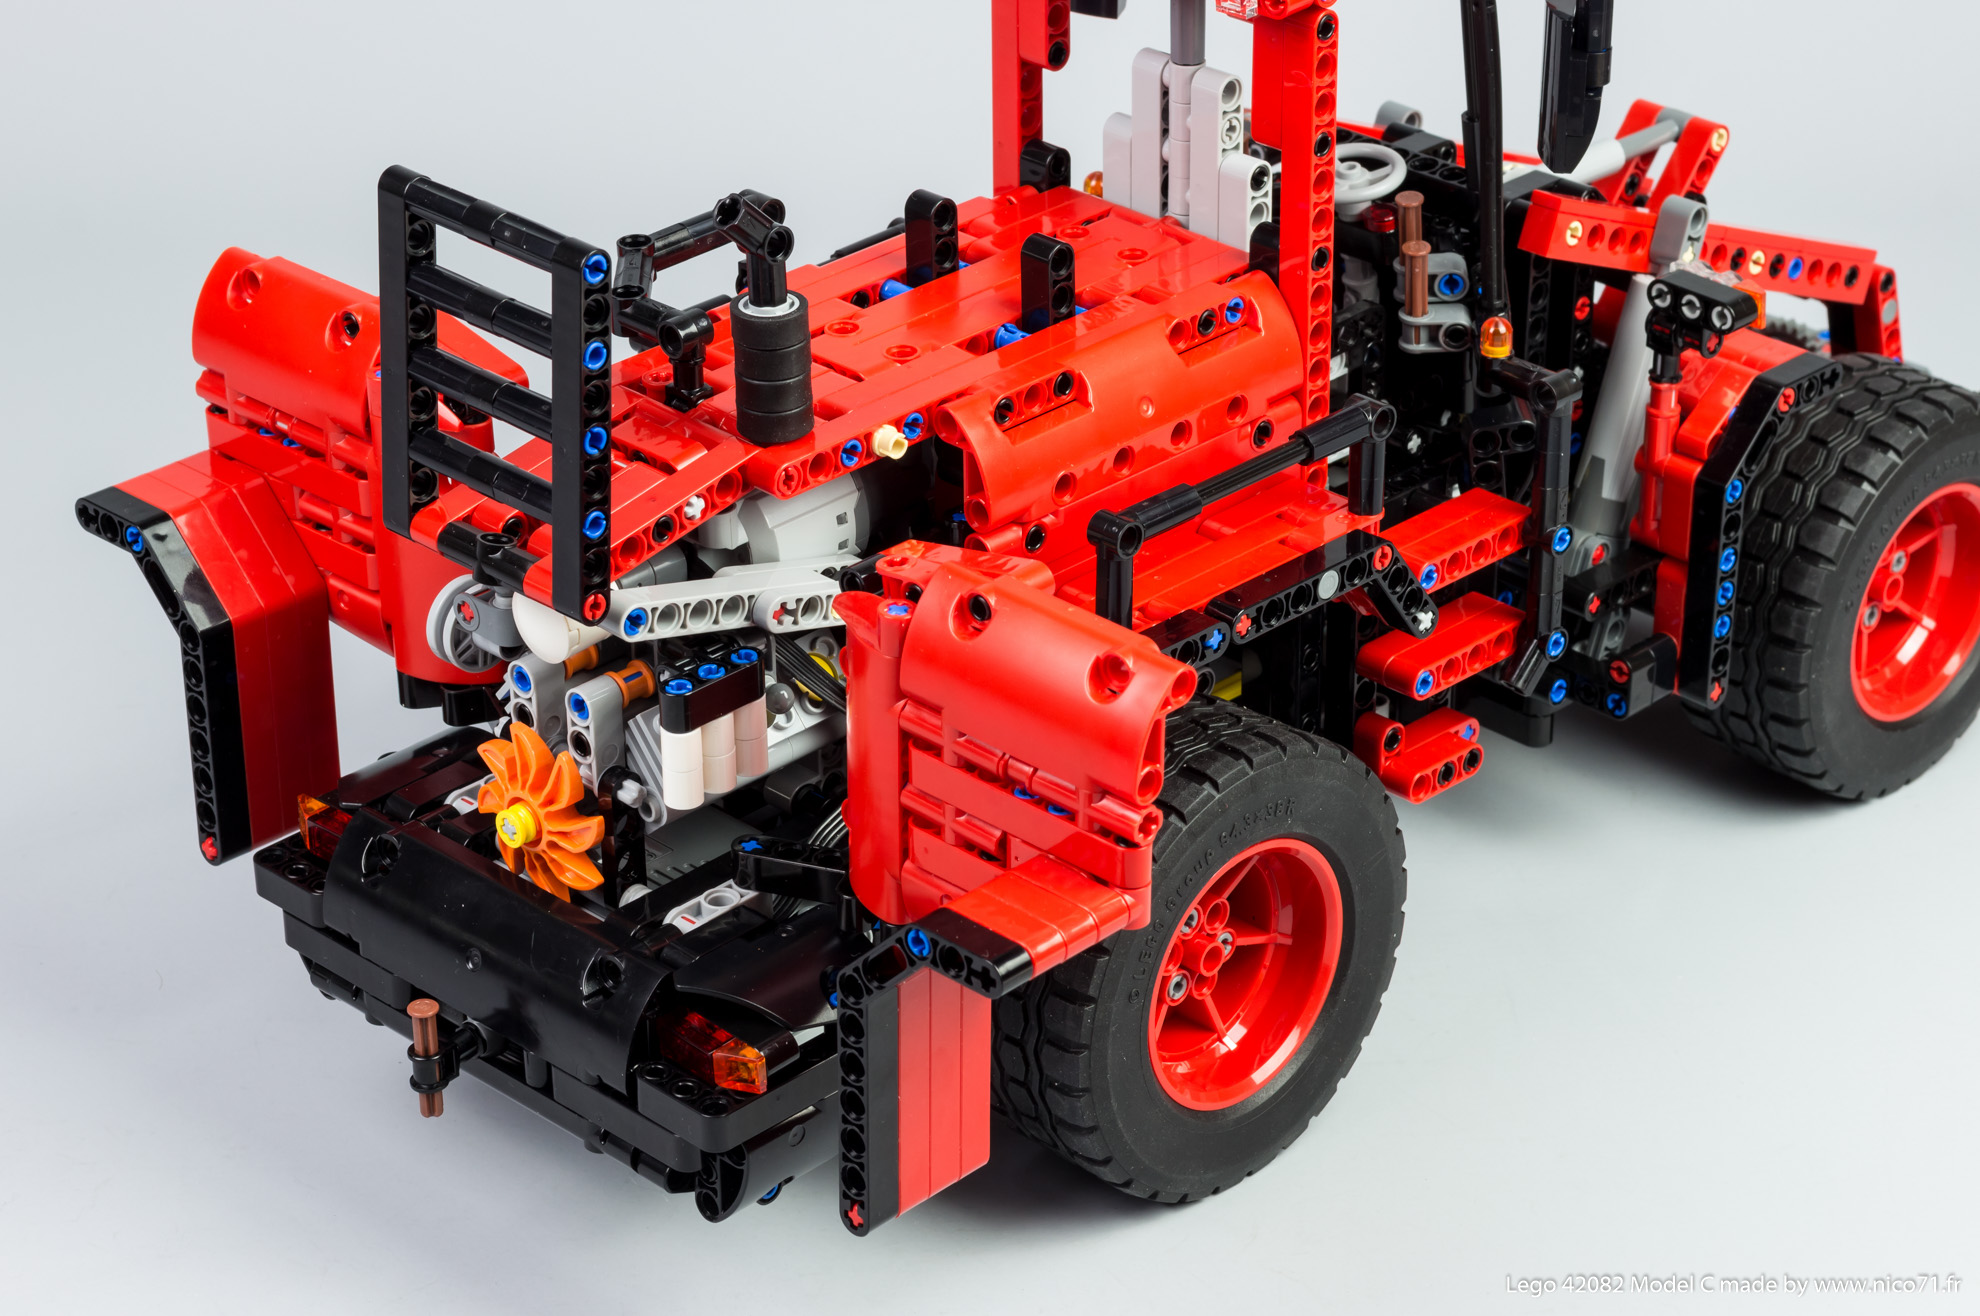
I have also work a lot on the rear paneling of the battery box to make part of the design and functionality to include in this design the two functions : battery box removable, and the easy on/off. The rear bumper weight is composed of many panel with light, and can be rotated to reveal the battery box, it is attached with a 3/4 pin which gives enough friction to lock in position but release it when you pull it out. The on/off functions is made by moving the rear attachment fixed on the bumper weight, it has a small linkage system which pushes and pulls the on/off button of the battery box, and do not lock in position when the bumper is open. you can see this linkage in the video.
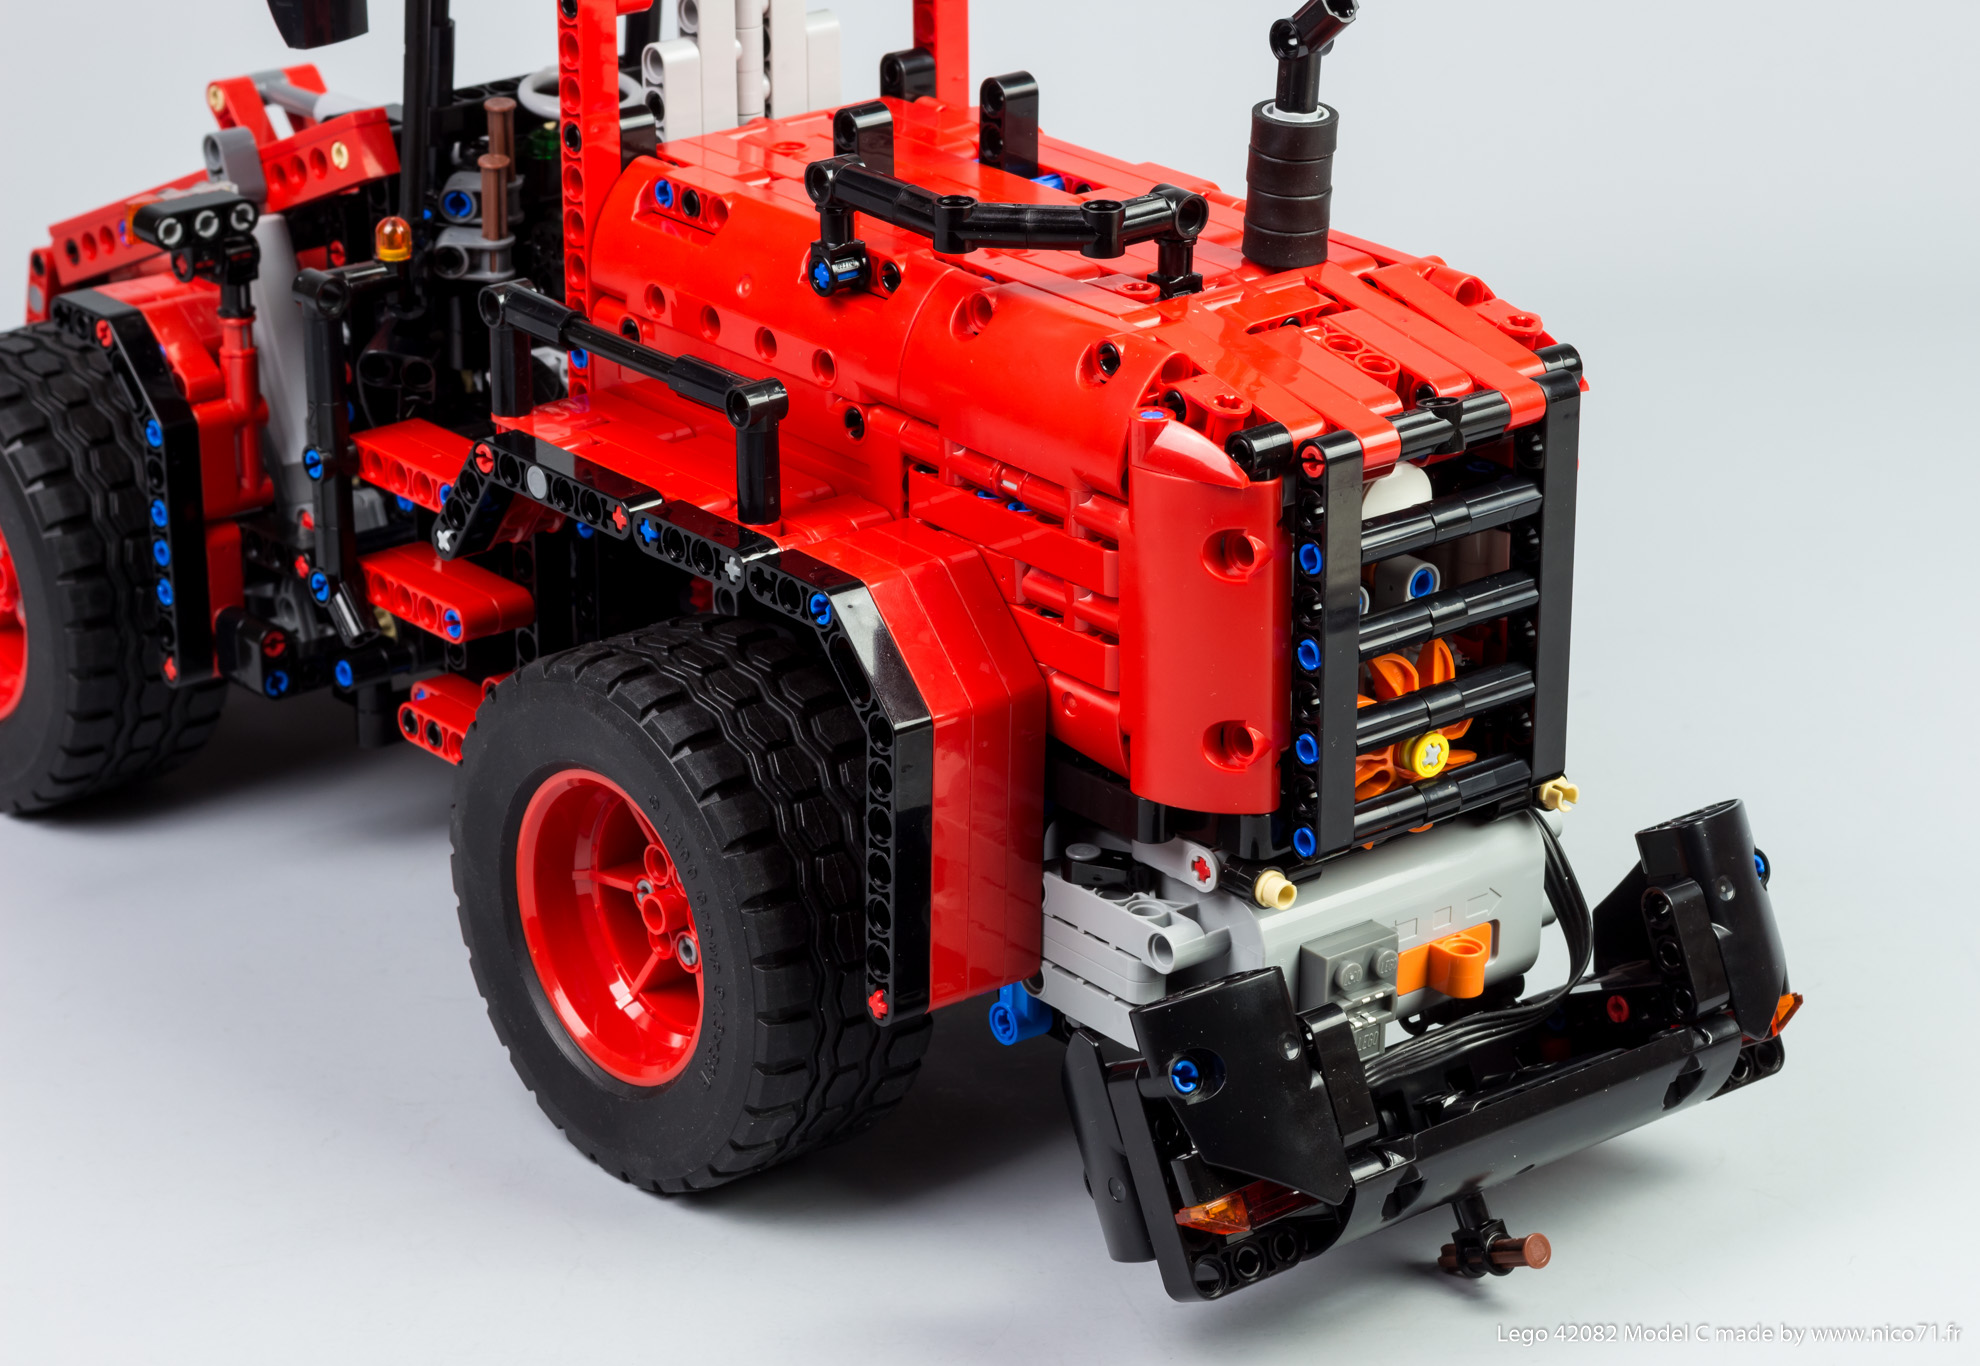
To finish, regarding the design, I have tried as usual to make the more interesting design with details, nice finishing and homogeneity of the colors and shape. That is why there are mudguard front and rear, access lader, front rear and side lights, angular shape of the glass of the cabin (inspired by the iconic 8459), detailed dashboard, exhaust, seat and mirror.
Of course the model do not use all the part of the model A but is quite big, with many detailed and playable. Note that I have created a last section in the video which show some tips and trick I used for this model, like the exhaust, front roof, suspensions, or one/off linkage and I have tried a new photo setup (shooting with a new lens, in manual and in RAW) and enhancement software which gives a better result. I hope you like it.
Video and picture


Building Instructions
The main idea of this project was to propose to enhance the building experience for the Lego rough crane 42082 by creating a unique model C, in order that people can build it by only purchasing a 42082. Therefore there are two building instructions. One for sale at 10€ with pro looking (like the official lego one) made by Kevin Williams, and one for free based on detail photo sequence. Therefore, you can buy it to support me, or just watch it for free, as you want. Here is the complete bill of material in picture file :


But you can also checked it on rebrickable (if you do not have the 42082) :
Pro Instructions
You can buy the instructions with the following button for 10€. You can also buy other building instructions and get an automated discount., for instance my 42082 D model and/or E model. You will get 15% off for 2 PDF, and 20% off for 3 PDF on the total). The automated discount is also available for all the instructions for sale on nico71.fr.
Direct purchase of the instructions (All alternate model I have created with the 42082 LEGO Set)
42082 Model E – Offroad Truck
42082 Model D – Forklift Truck
42082 Model C – Wheel Loader
Price list for example (excluding tax) :
- Model C + Model D or Model C + Model E = 21.25€ instead of
25€(save 15%) - Model D + Model E = 25.5€ instead of
30€(save 15%) - Model C + Model D + Model E : 32€ instead of
40€(save 20%)
After your payment, you will be redirected to a page for downloading your instructions, and receive also the link to download by email. Please check the spam box and be patient to receive it. If you have trouble to download your copy of the PDF after payment or open the document, do not make a paypal dispute, please contact me using the contact form. The link to download the instructions expires within 24h. Contact me if you have lost your instructions. Note that you can print it, but not copy or distribute. Thank you for supporting my work 🙂
(8) Comments
Hello, yes in deed, it would be more accurate to choose the 32999b as it exists in the official set. I will do 🙂
Hi, when I compare this MOC (but also Model E) with the 42082 set on Rebrickable, it gives one difference: the MOCs have item 33299a whereas 42082 has 33299b. Based on the images (and most of the item number) they seem the same. Is that correct?
Hello, thank you for your comment ! I copy past here the answer I have done to Mikko (unfortunately I have not seen its comment) : So if you battery is not tired, I advice you to check every gear to rotate freely and is braced correctly (which means rotate freely without too much tightened bush for instance). But also check the zero position of linear actuator, as they act in double, you need to have the same position of each when started, if not, they will force each other. Therefore, ensure you that both linear actuators are in the end stop at the same position. If you have trouble, disconnect the top connection of the linear actuator to the main arm, and rotate from 180° and test it again.
For me, if the gearing work fine, the linear actuator are in the same end stop (you can test it with only one actuator if you want) and the battery and motor in good condition, there is no other way it could not work.
Regarding the error note :
Pg42 : not agree with this point, the switch work in only one way, you control the way of rotation by the lever on the top, not the battery box switch, it is in compliance with the free photo sequence (which is the reference)
Pg52 : indeed ! I will correct that.
Thanks you for bringing me to this , I will correct it !
Hello, I am sorry to not having answer you, I think I had but maybe the comment was lost. So thank you for building my Model C. Indeed the free photo sequence is more challenging that the for sale one. Regarding the functioning of the fork, with good battery, it works very nice as shown in the video. So if you battery is not tired, I advice you to check every gear to rotate freely and is braced correctly (which means rotate freely without too much tightened bush for instance). But also check the zero position of linear actuator, as they act in double, you need to have the same position of each when started, if not, they will force each other. Therefore, ensure you that both linear actuators are in the end stop at the same position. If you have trouble, disconnect the top connection of the linear actuator to the main arm, and rotate from 180° and test it again.
Hi Nico,
Thank you for the great model. Unfortunatelly I hit the same problem as Mikko Kuusisto, the gearing of the main actuators is very stiff and regularly jam. I tried to tune and even rebuild this part but with no luck so far. Happens even when the forks are not loaded and regardless moving direction.
Othervise it looks great, (the rest) works fine – I was especially surprised by the steering, expected to be the weak spot – and the building instructions are very good.
Some notes:
Pg. 42: the black beam (length 5) should be replaced by shorter (length 3). The original colide with electrical connecor on one side and with cable on other.
Pg. 52 step 2: the red shaft (length 4) should be replaced by gray one (lengh 3) or pushed inside by at least half a brick – it later colides with main actuator.
Hi!
Really nice alternate model!
My son just finished building this
Only problen is that main 2 actuators are binding badly, maybe just too complex drivetrain?
Otherwise real nice!
I bought the Lego Crane 42082 a few weeks ago and saw afterwards that this model C was available: I just finished building it yesterday (after building model A of course): It’s such a beautiful piece of machinery, thank you Nico71 for this model and the free pictures! It’s sometimes challenging to build it without mistakes but overall it’s fun! I remarked one “error” in the picture (in addition to the one indicated in picture 589) but can’t remember it anymore 🙁
[…] more to see of Nico’s brilliant telehandler at his website, where if you own a 42082 Rough Terrain Crane set and fancy building this C-Model for yourself you […]
Comments are closed.