
A Prytz / Hatchet Planimeter, made in 2013, now with free PDF instructions in an updated and improved version. If you want to learn measuring areas with LEGO, this is the tool you need !
This article is a transcript of the presentation video on Youtube (3min).
Model Presentation
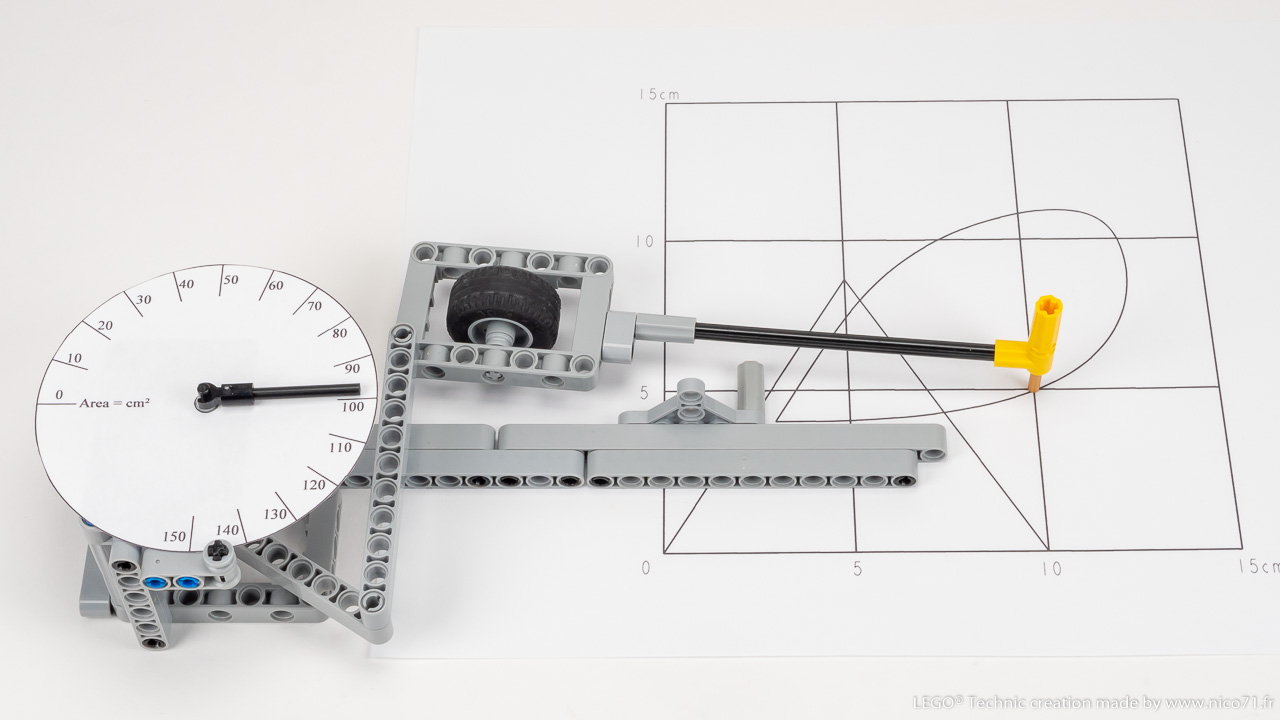
Measuring the surface area of an irregular shape usually requires digital software or complex geometric formulas. However, it can also be done mechanically using this device called a planimeter. It enables calculates the area of any flat shape simply by tracing its perimeter and I have made a version using LEGO Technic part.
The model consists of three main components :
- First, the tracer arm at the bottom, which features a fine yellow pointer used to follow the lines of the drawing
- Second, the wheel arm, equipped with a grippy LEGO tire that acts as a directional guide tangent wheel
- Third, a custom dial calibrated to display the surface area directly in square centimeters (cm²)
To use it, fold the mechanism, reset the needle to zero, and place the pointer on a starting reference mark. Then trace the contour of the shape. Once you return to the starting point, the needle on the dial indicates the total area.
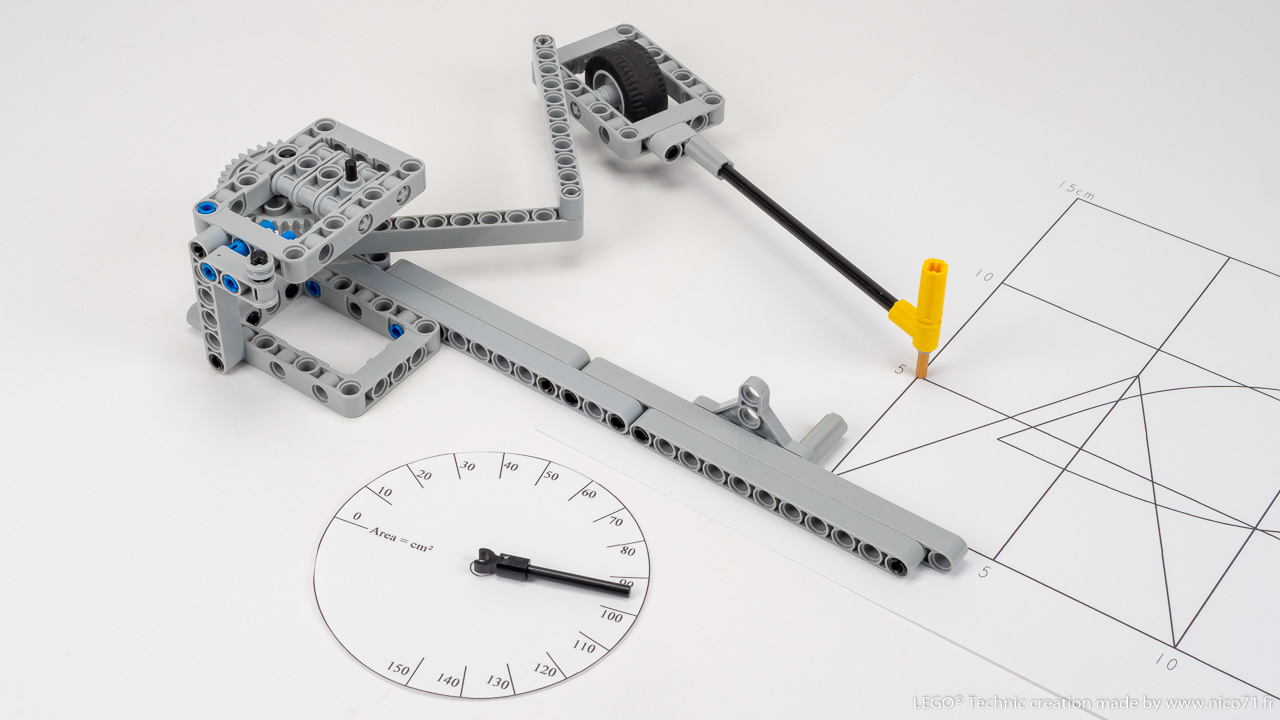
How does it work ?
Without going too deep into the mathematics, the calculation relies on a geometric curve known as a tractrix and Green’s Theorem. Due to the friction of the tire, the rear wheel cannot slip sideways : it is constrained to either roll forward and backward or pivot around its center. As the pointer follows the perimeter of a shape, the wheel arm traces a tractrix. This physical trajectory dynamically computes a line integral, which Green’s Theorem translates directly into a surface area.
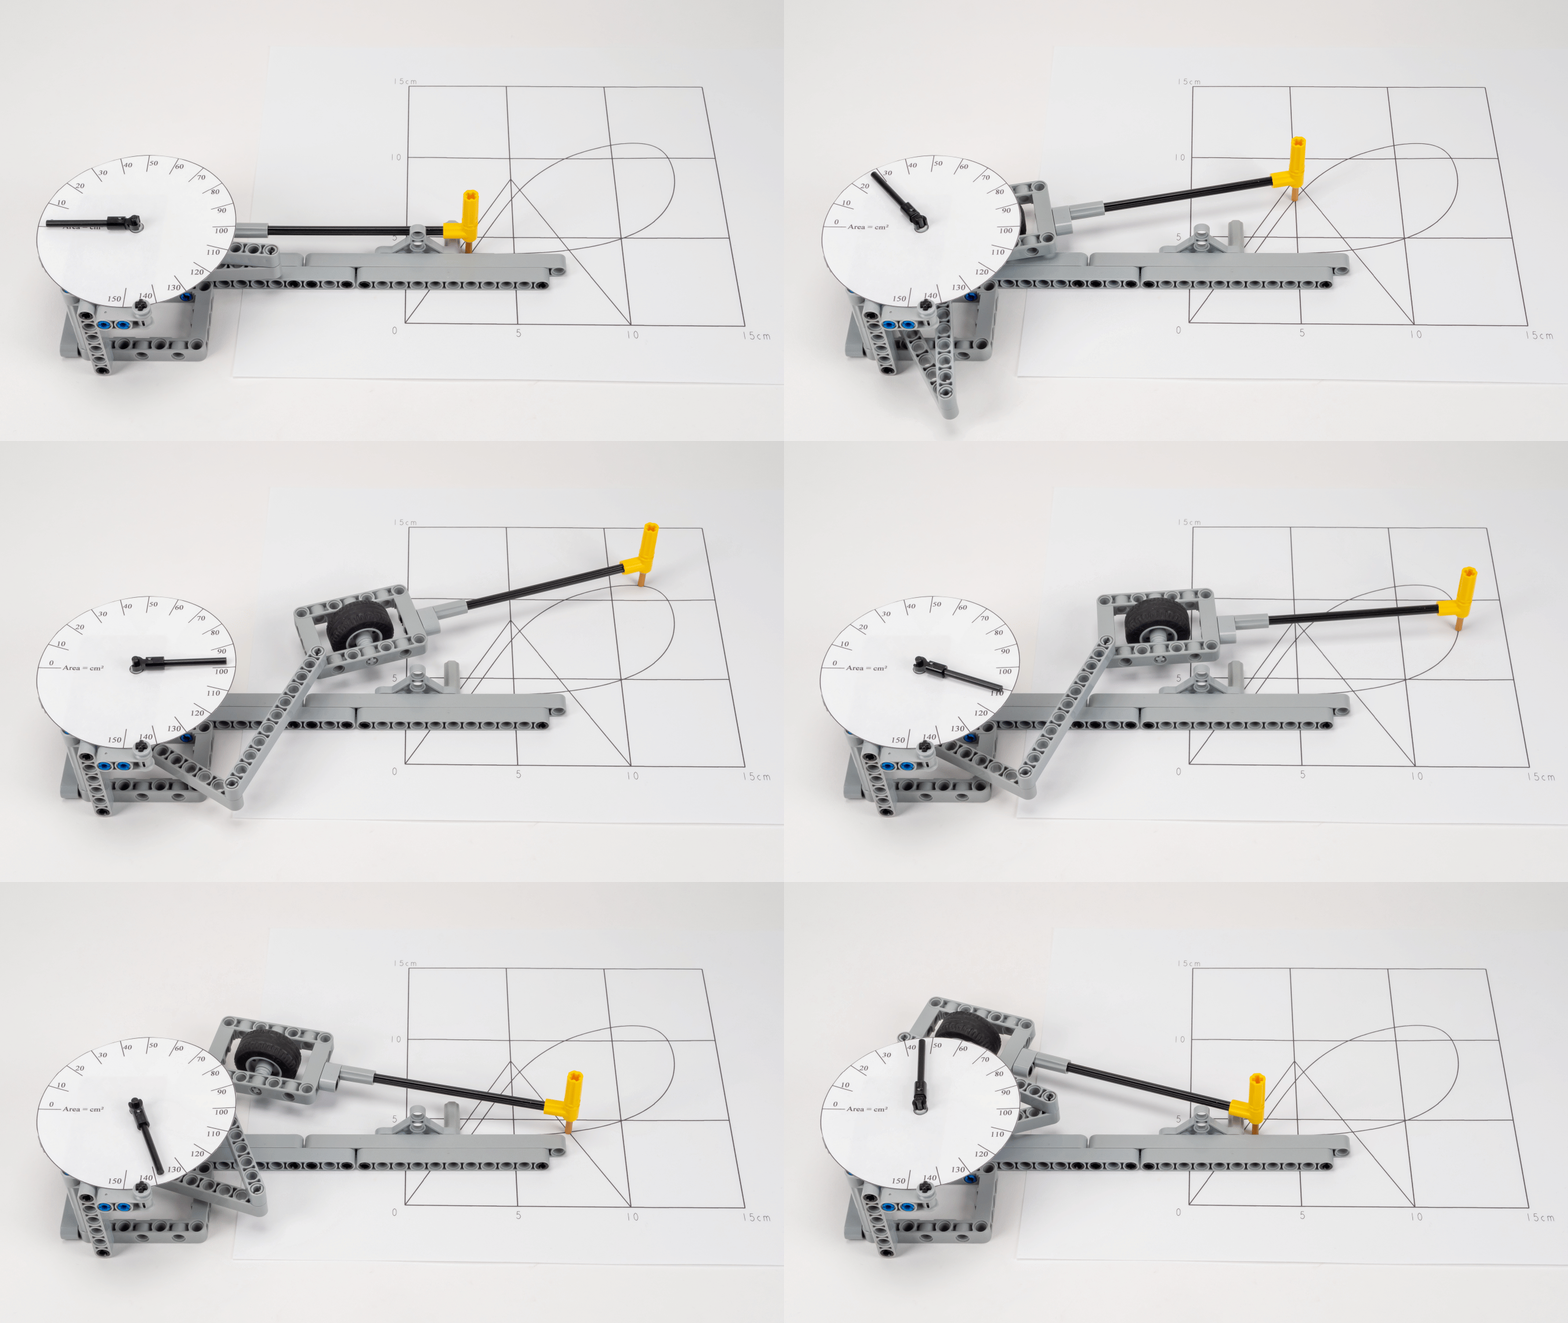
This is why you see the dial numbers increase when traveling along the upper section of the shape, and then decrease when traveling along the bottom. What the mechanism does is subtract the bottom area from the upper area, leaving only the enclosed space inside the curve.

However, on this specific model, the dial is not driven directly by a rolling wheel like on an Amsler polar planimeter. Instead, the wheel arm is mechanically linked to the dial so that its angular position is reported directly on the dials. If the shape remains small relative to the arm length, the angular deviation between the two positions is directly proportional to the area.
It works exactly like the small-angle approximation in trigonometry, where sinus alpha approx alpha when it is small. The device uses this geometry to approximate the area, and the internal gearing system multiplies this angle to display it on the reading dial (with the inherent error due to gear backlash).
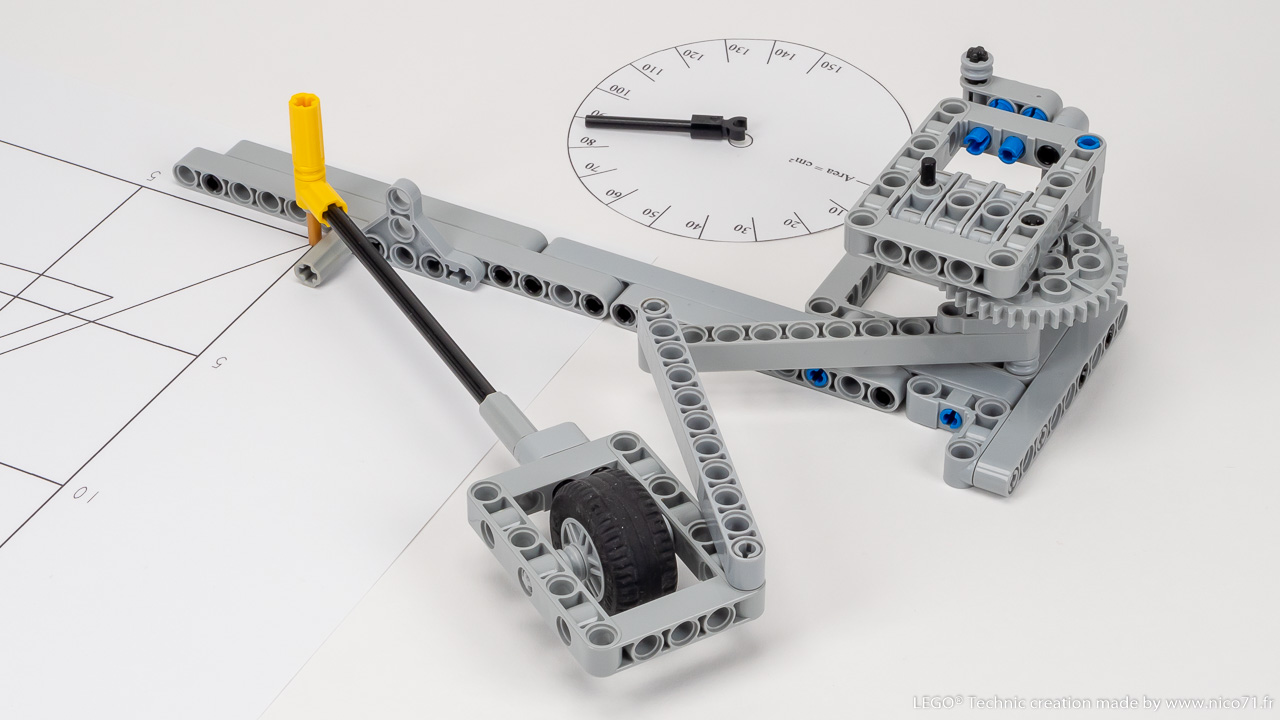
If you want to go deeper in the mathematics explanations, you can read the article on the blog and read these resources :
- Wikipedia page about planimeter (general)
- Different Hatchet Planimeters by David R Green on uraone.com
- Deeper explanations with Mathematics by Robert L. Foote (persweb.com)
2026 Version (updated and improved)
This is the second version of the device, initially built in 2013, redesigned to improve the original build, here are the changes :
- Better accuracy : The yellow pointer is now much smaller, allowing for more precise tracking along line edges
- Reduced friction : The tangent wheel is now free to move on its axle, as well as the yellow pointer to follow the hands rotation
- Quick calibration : The axle of the needle is now with friction, which enables to rotate and set up easily to zero
The major improvement is that I have made the PDF building instructions for this device, and that it is available for free, with the dial and the measuring sheet to print.
See it on the shop :